
SUMMARY
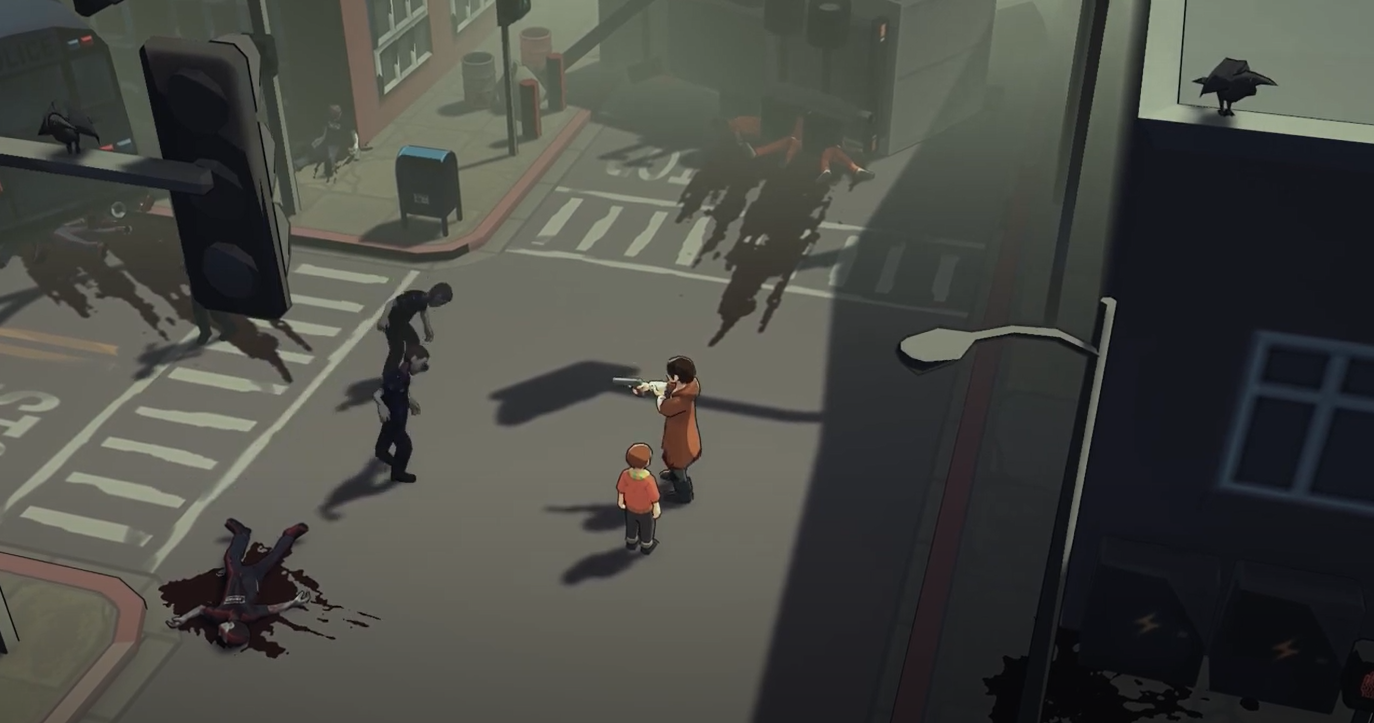
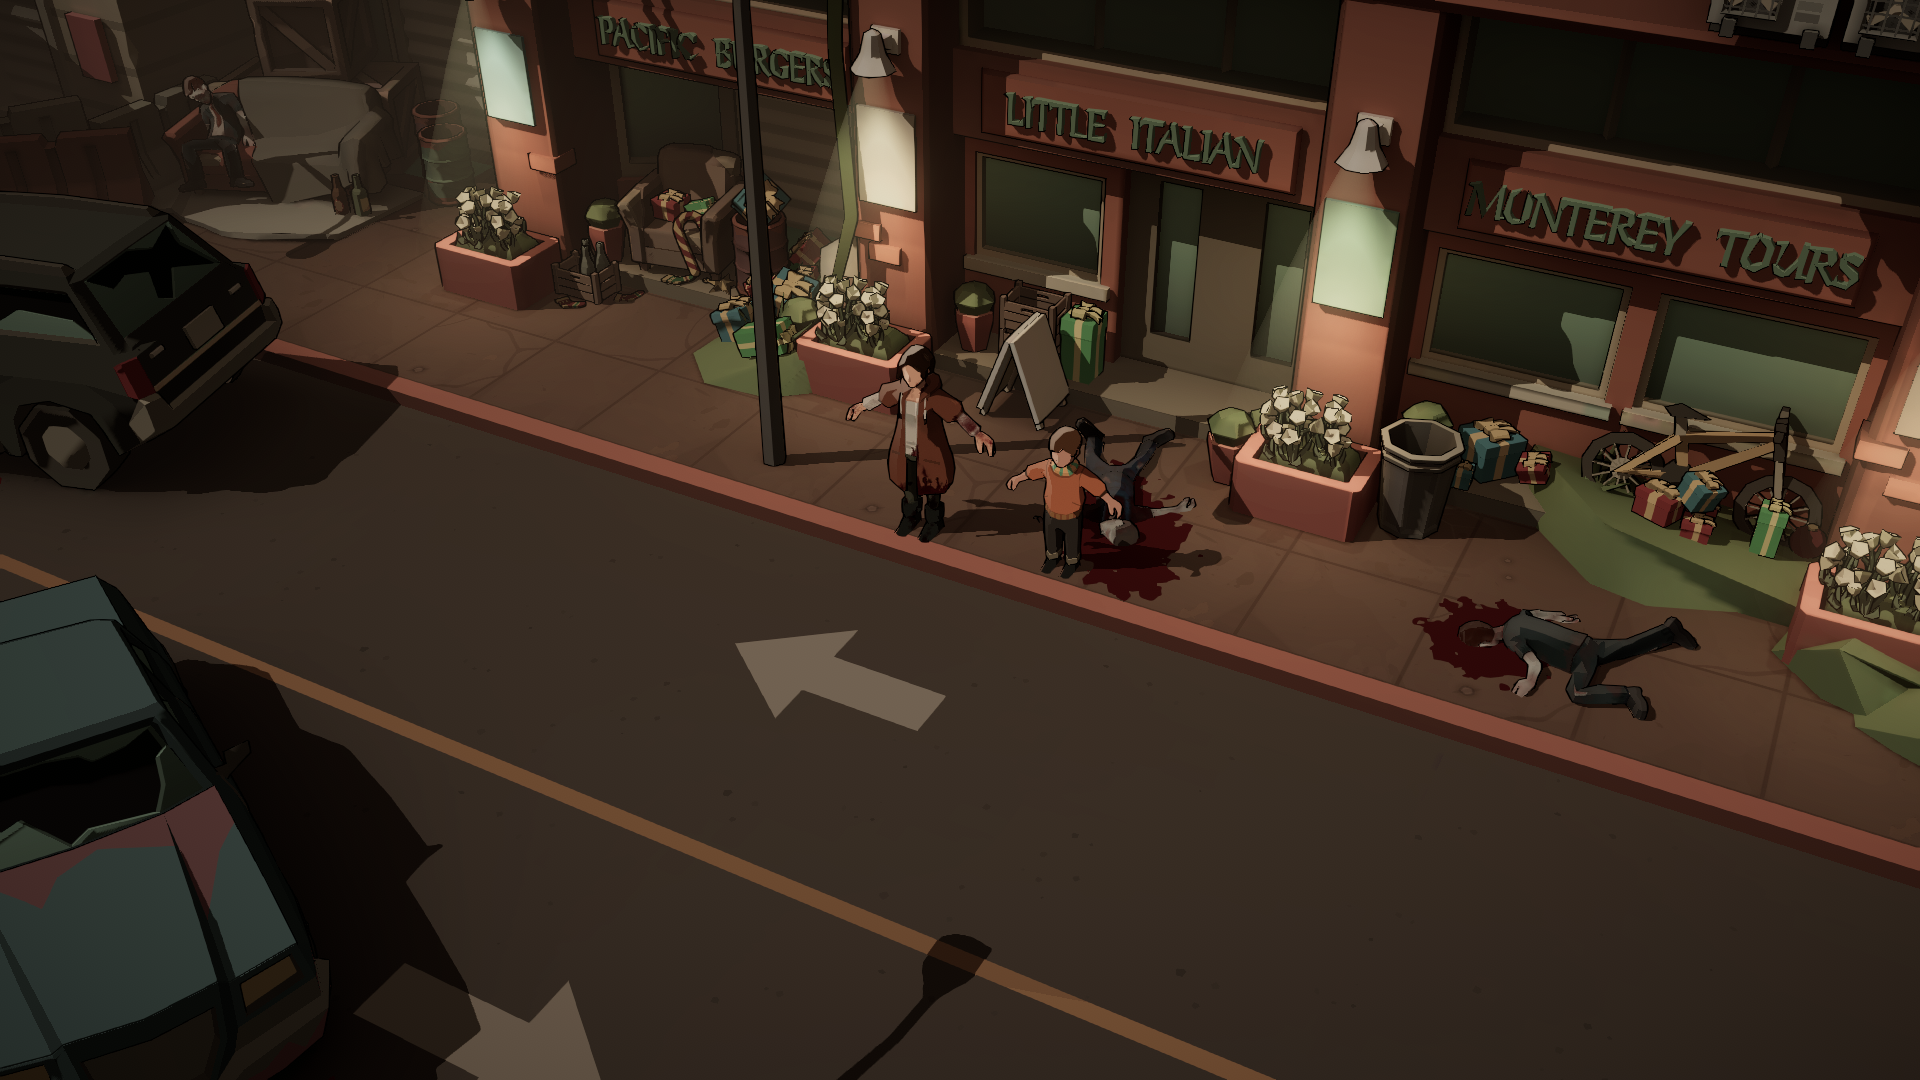
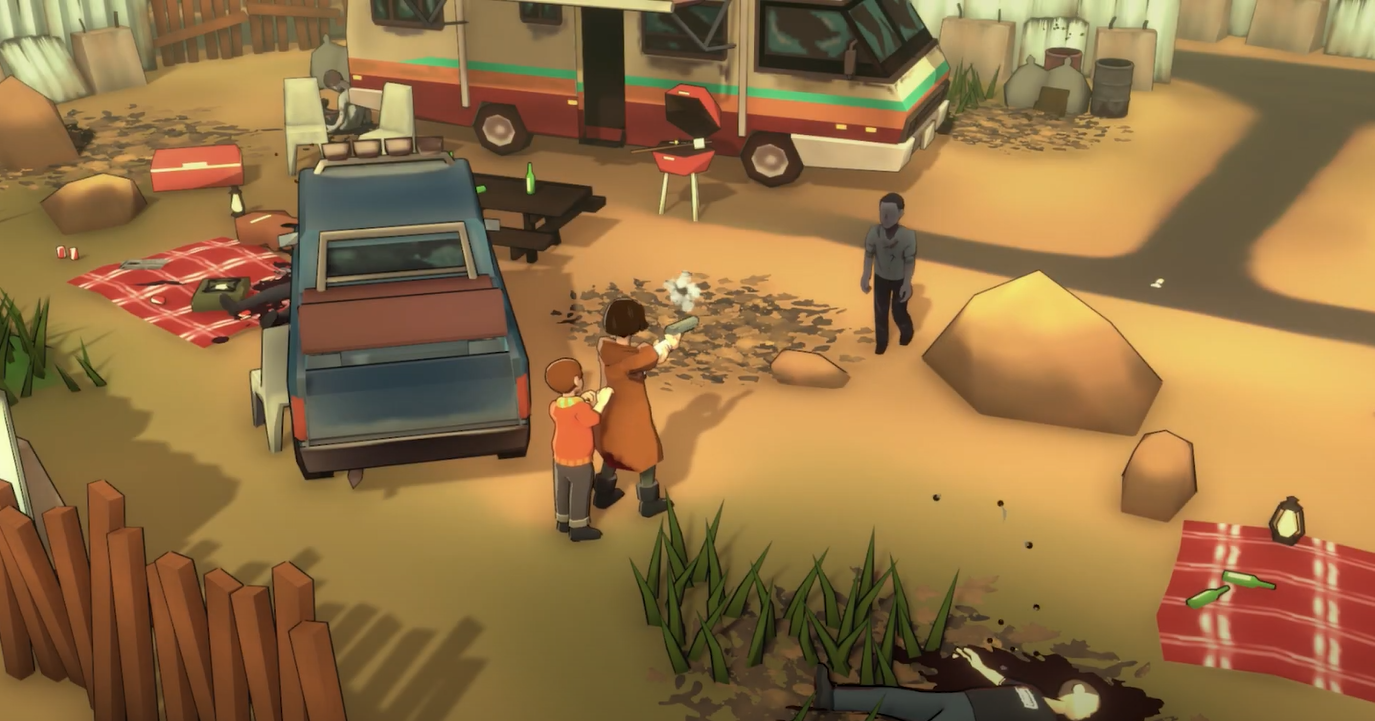
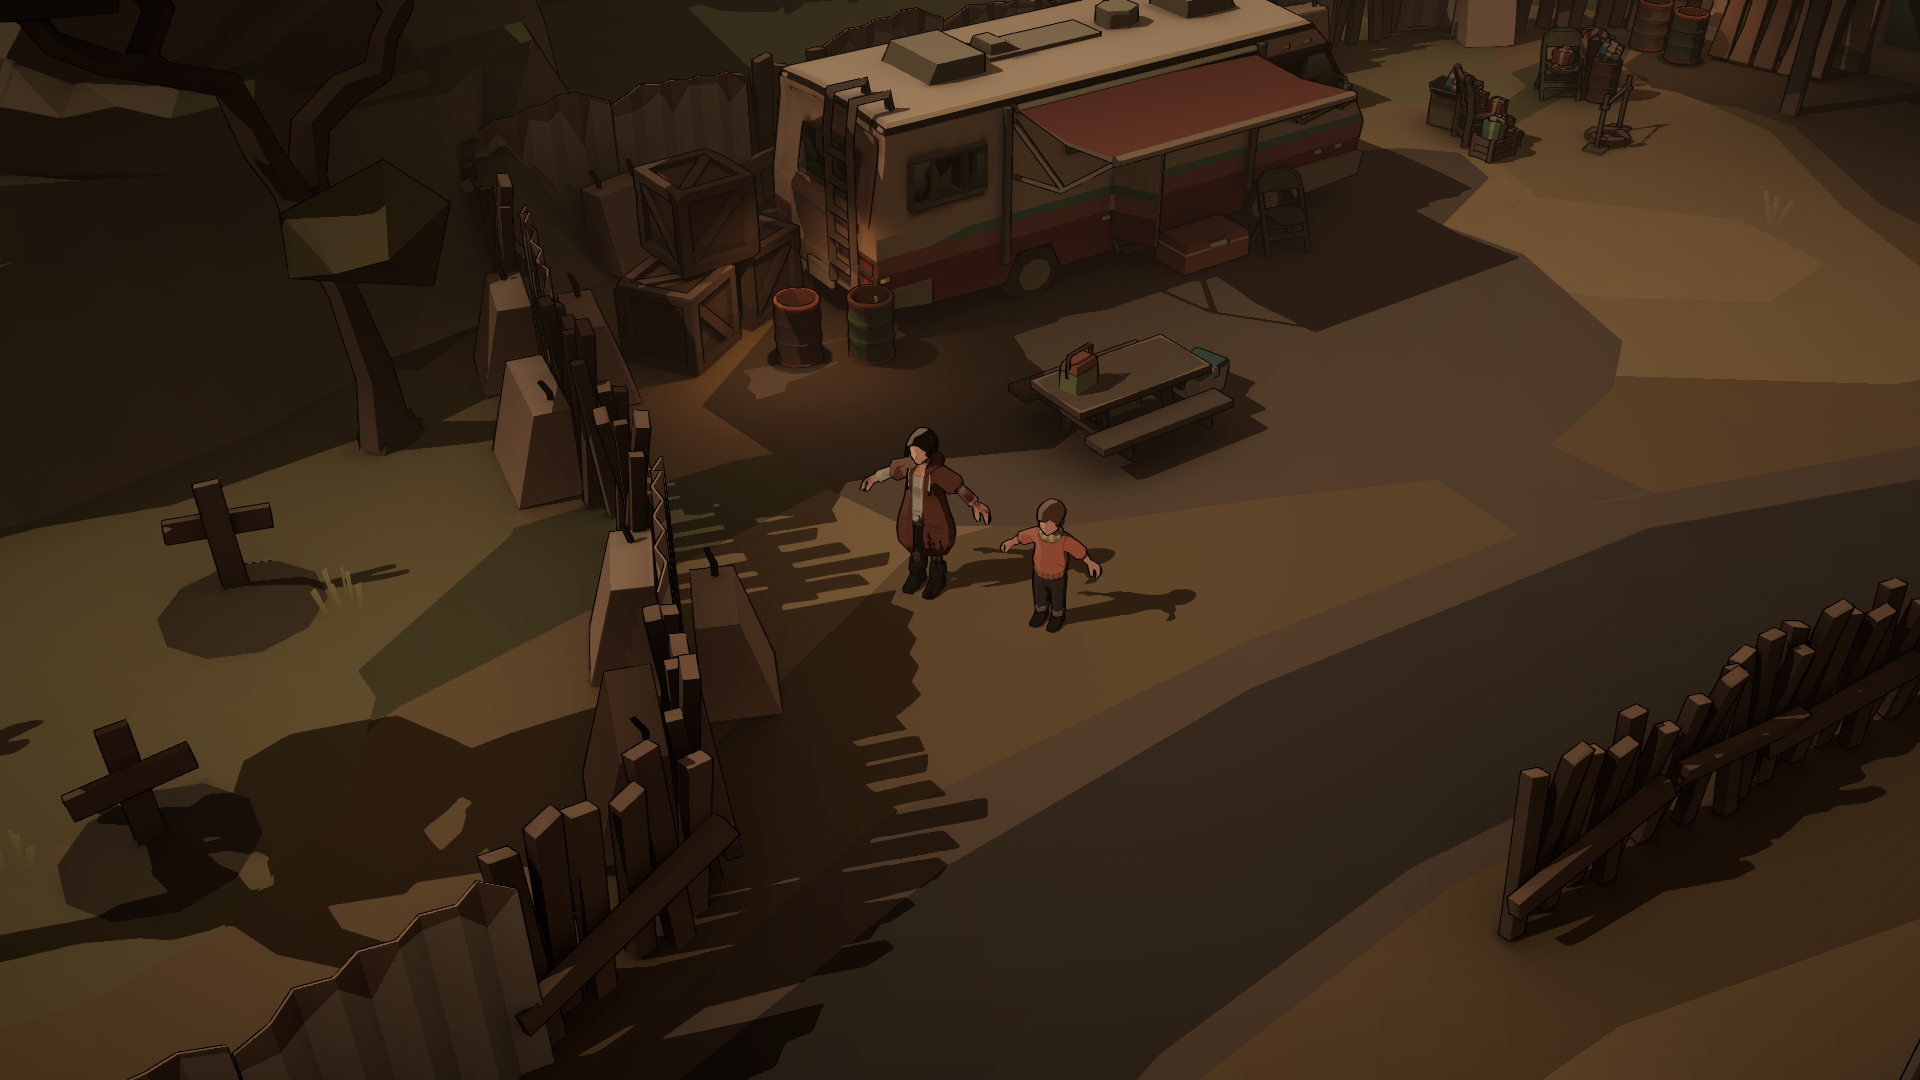
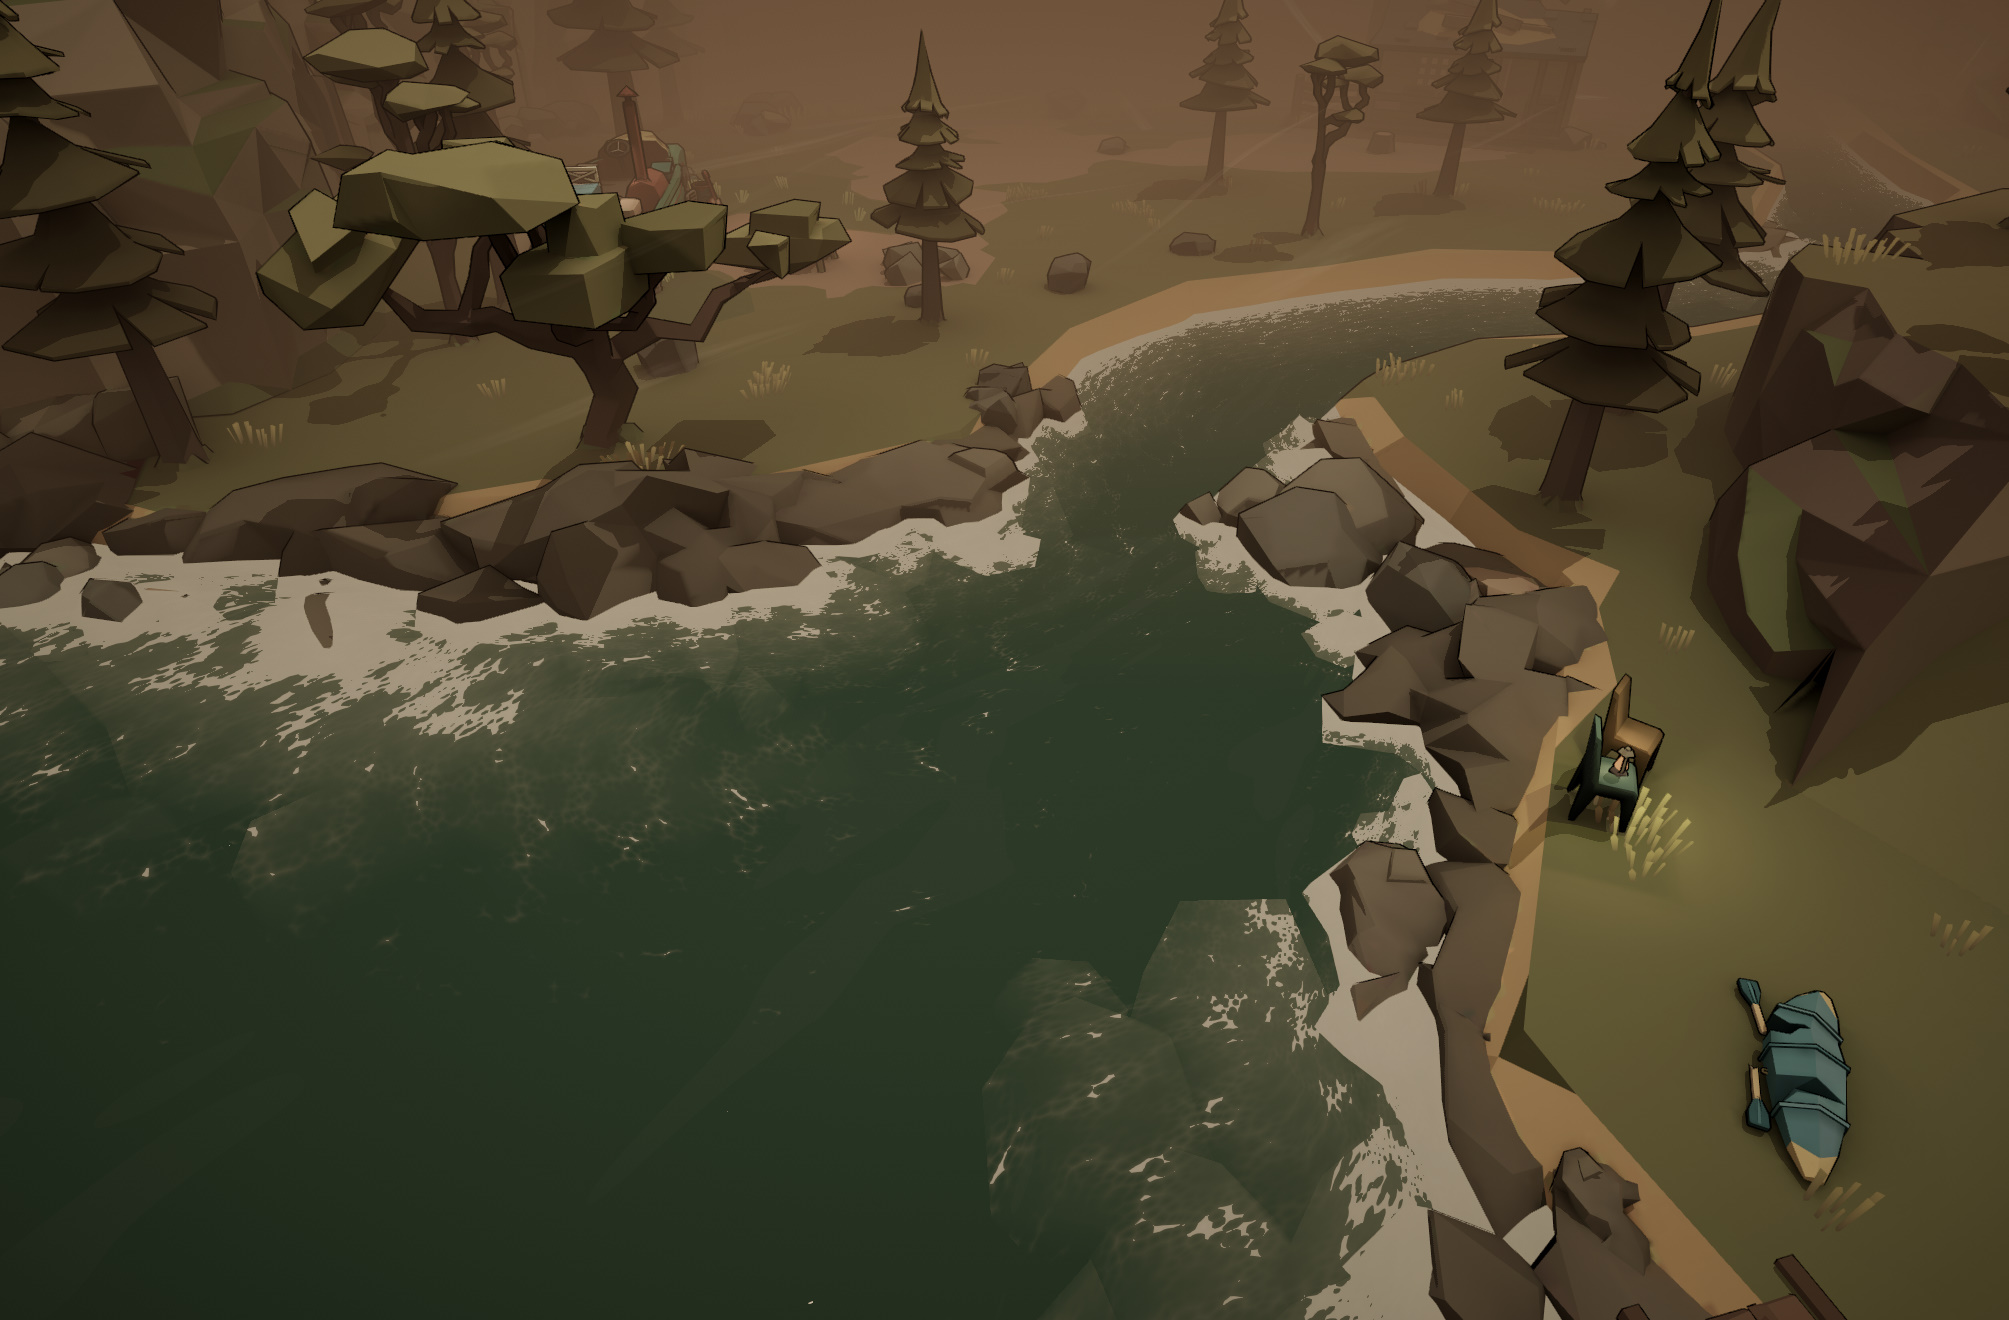
Undying is my first project as a technical artist. I began as an environment artist and later transitioned into a technical artist role. Here is a graphic comparison between the initial and current versions of the game:

DURATION
- Environment Artist Intern (Dec 2018 - Mar 2019)
- Technical Artist in Vanimals (Aug 2019 - Jun 2024)
CONTENT
- Created shaders in HLSL/ShaderGraph/ASE for Unity.
- Designed stylized props/environment/characters in 3DsMax/Zbrush.
- Developed VFX in Unity.
- Built tools in C#, MaxScript/Python for 3DsMax.
- Worked on level art and light baking, implementing them with tools and shaders.
- Profiled and improved graphics and performance.
- Optimized workflow and pipeline.
- Collaborated with engineers to ship the game on Nintendo Switch, Mobile, and VR.
RENDERING
CEL-SHADING
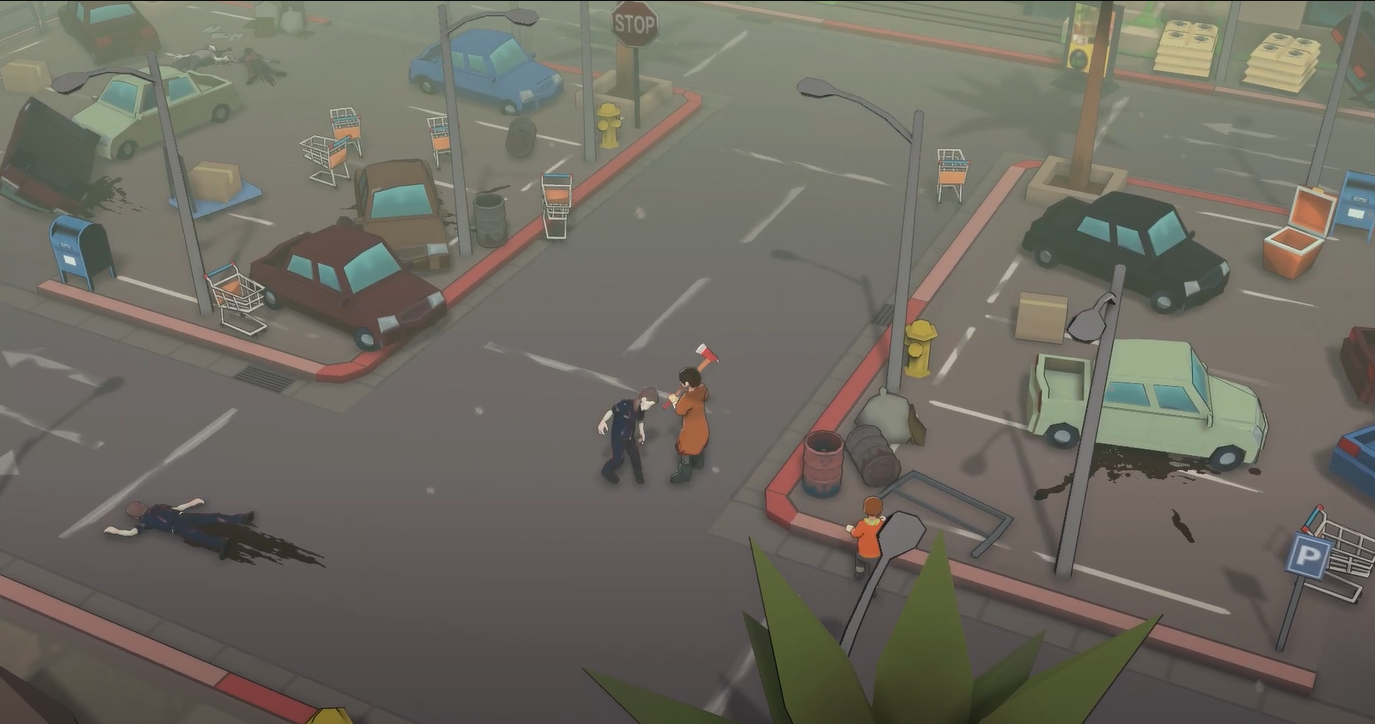
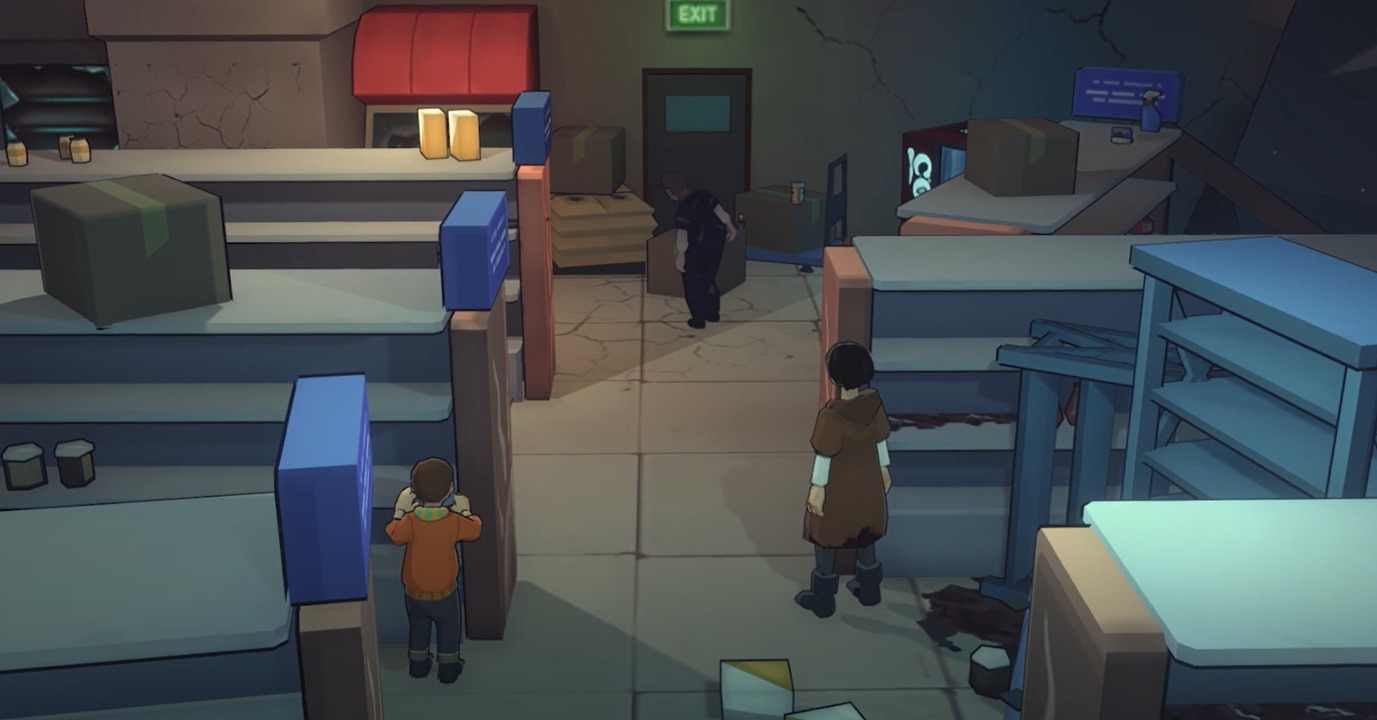
We implemented a simple cel-shading technique with stylized Fresnel and built an HLSL library to ensure the modularity and reusability of functions.

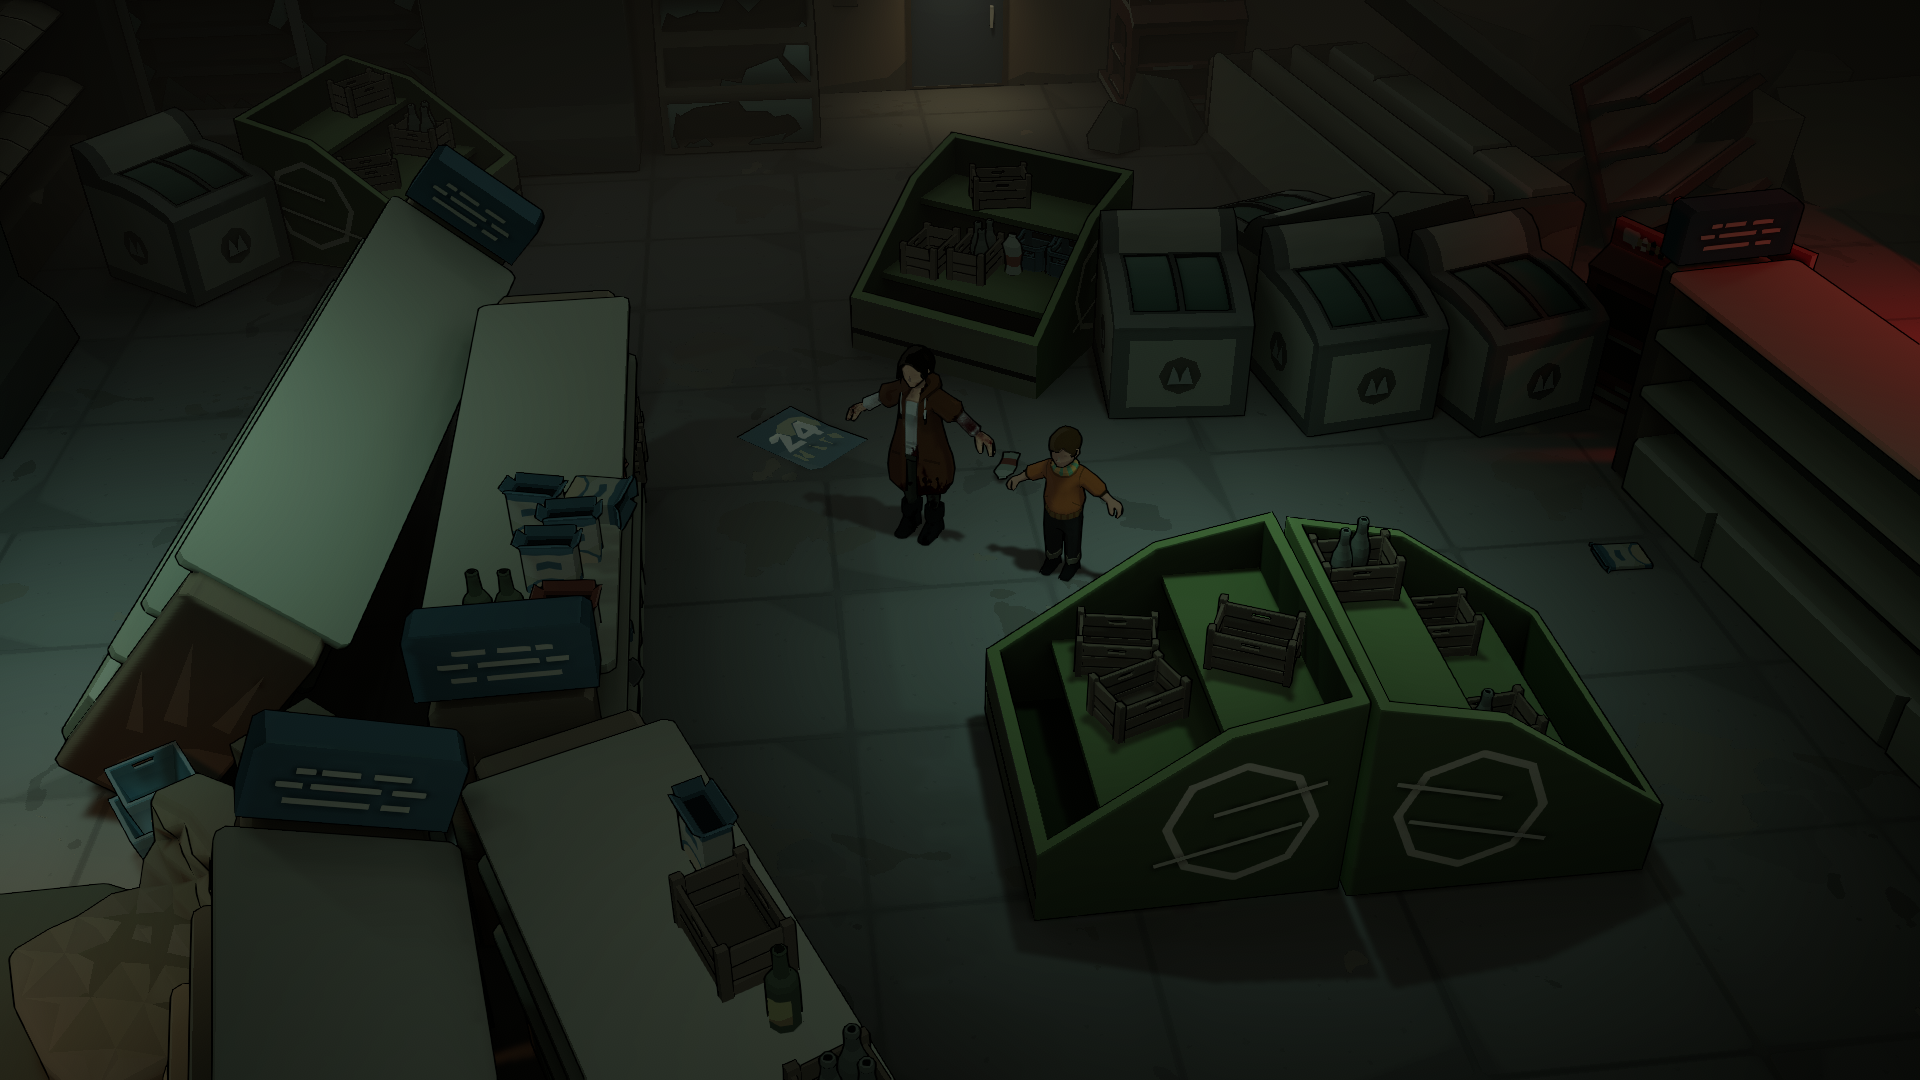
We used shaders to control saturation instead of relying on post-processing, which made it easier to achieve the desired effects. For example, in Undying, the city loses power midway through the game. To create a contrasting mood, the saturation in well-lit areas remains normal, while the overall scene is slightly desaturated. This way, when players are inside a house without light, it evokes a sense of hopelessness. Once the power is restored, the environment becomes brighter and more saturated, enhancing the contrast in mood.


We needed a Time of Day (TOD) system, so we used light maps to store light information and ambient occlusion (AO), and light probes for dynamic and small objects. We also used a global variable to control other shaders such as environment VFX and water.


The item shader is based on our cel-shading, with an added glow to make it more noticeable.

To differentiate the glow, we added some offset based on the item’s position:
//To create offset for each glowing item.
  const float3 objectPosition = IN.objectPosition.xyz;
  UV += ((objectPosition.x + objectPosition.z));
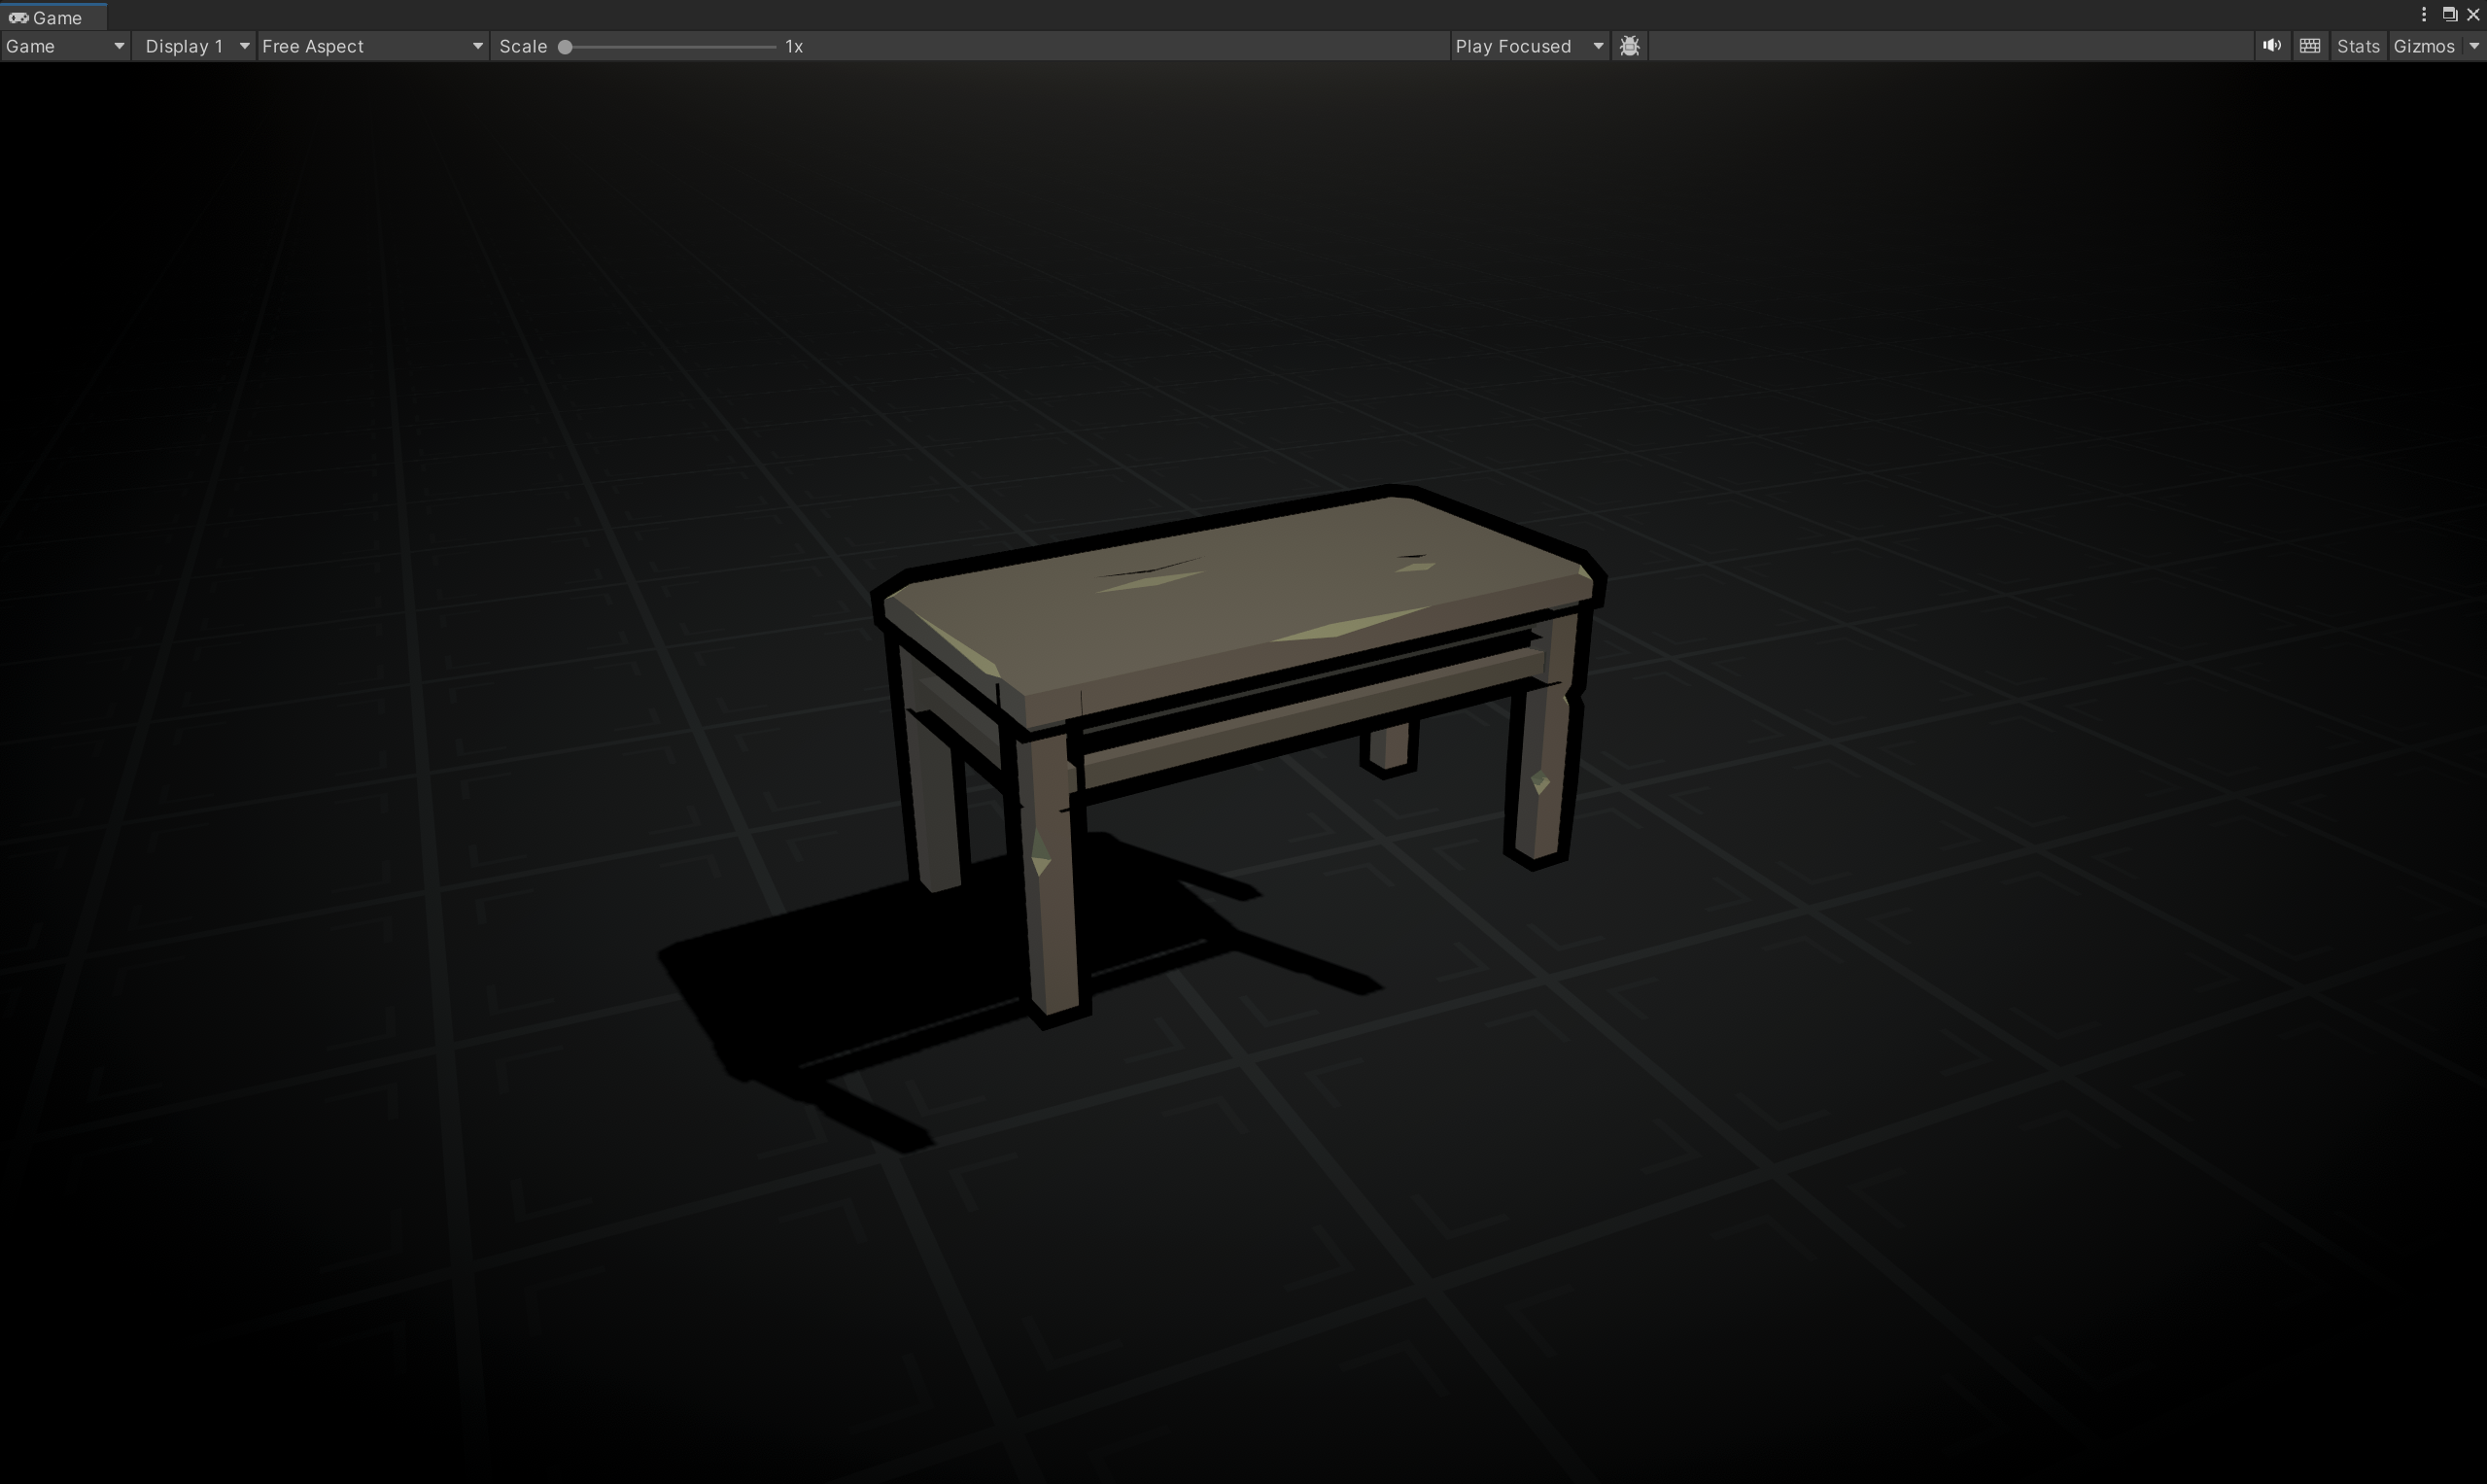
OUTLINE
We used simple Vertex Extrusion to create our outline. In the shader, we scaled the vertices along their normals in the opposite direction to create an expanded silhouette. This is easy to achieve, but it doesn’t look good when normal directions are not continuous.
So, we used C# tools to calculate smoothed normals for each mesh:
//SmoothNormal.cs
//To create offset for each glowing item.
private static List<Vector3> GetSmoothNormals(Mesh mesh)
{
  //Group vertices by location
  var groups = mesh.vertices.Select((vertex,index)=> new KeyValuePair<Vector3,int>(vertex,index)).GroupBy(pair=>pair.Key);
  var smoothNormals = new List<Vector3>(mesh.normals);

  //Average normals for grouped vertices
  foreach(var group in groups)
  {
    //Skip single vertices
    if(group.Count() == 1)
    {
      continue;
    }

    //Calculate the average normal
    var smoothNormal = Vector3.zero;

    foreach(var pair in group)
    {
      smoothNormal += smoothNormals[pair.Value];
    }

    smoothNormal.Normalize();

    //Assign smooth normal to each vertex
    foreach(var pair in group)
    {
      smoothNormals[pair.Value] = smoothNormal;
    }
  }

  return smoothNormals;
}

public static void SetSmoothNormalsToTangent(this Mesh mesh)
{
    var normals = GetSmoothNormals(mesh);
    var tangents = normals.Select(normal => new Vector4(normal.x, normal.y, normal.z, 1)).ToList();

    mesh.SetTangents(tangents);
}
We called this function in our import pipeline to store the smoothed normals into the mesh’s tangent:
//Undying_FBXImporter.cs
//Undying_FBXImporter : AssetPostProcessor
void OnPostprocessModel(GameObject g)
{
        SetSmoothNormalToTangent(g.transform);
}

void SetSmoothNormalToTangent(Transform t)
{
  if (t.gameObject.TryGetComponent<MeshFilter>(out var meshFilter))
  {
      if(meshFilter.sharedMesh != null)
      {
        meshFilter.sharedMesh.SetSmoothNormalsToTangent();
      }
  }

  // Recurse
  foreach (Transform child in t)
  {
      SetSmoothNormalToTangent(child);
  }
}
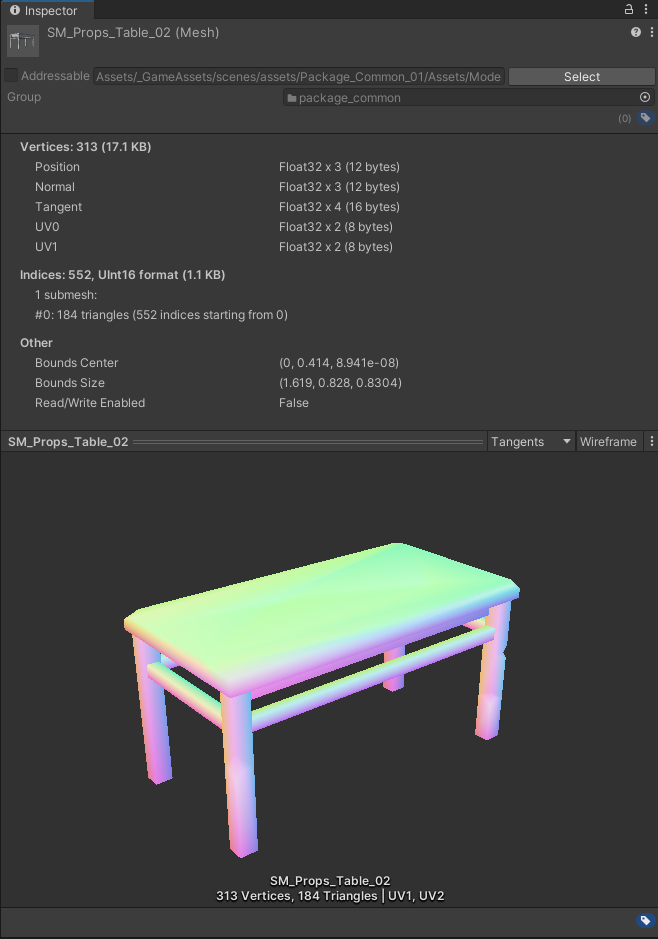
This is the result in the mesh’s inspector:

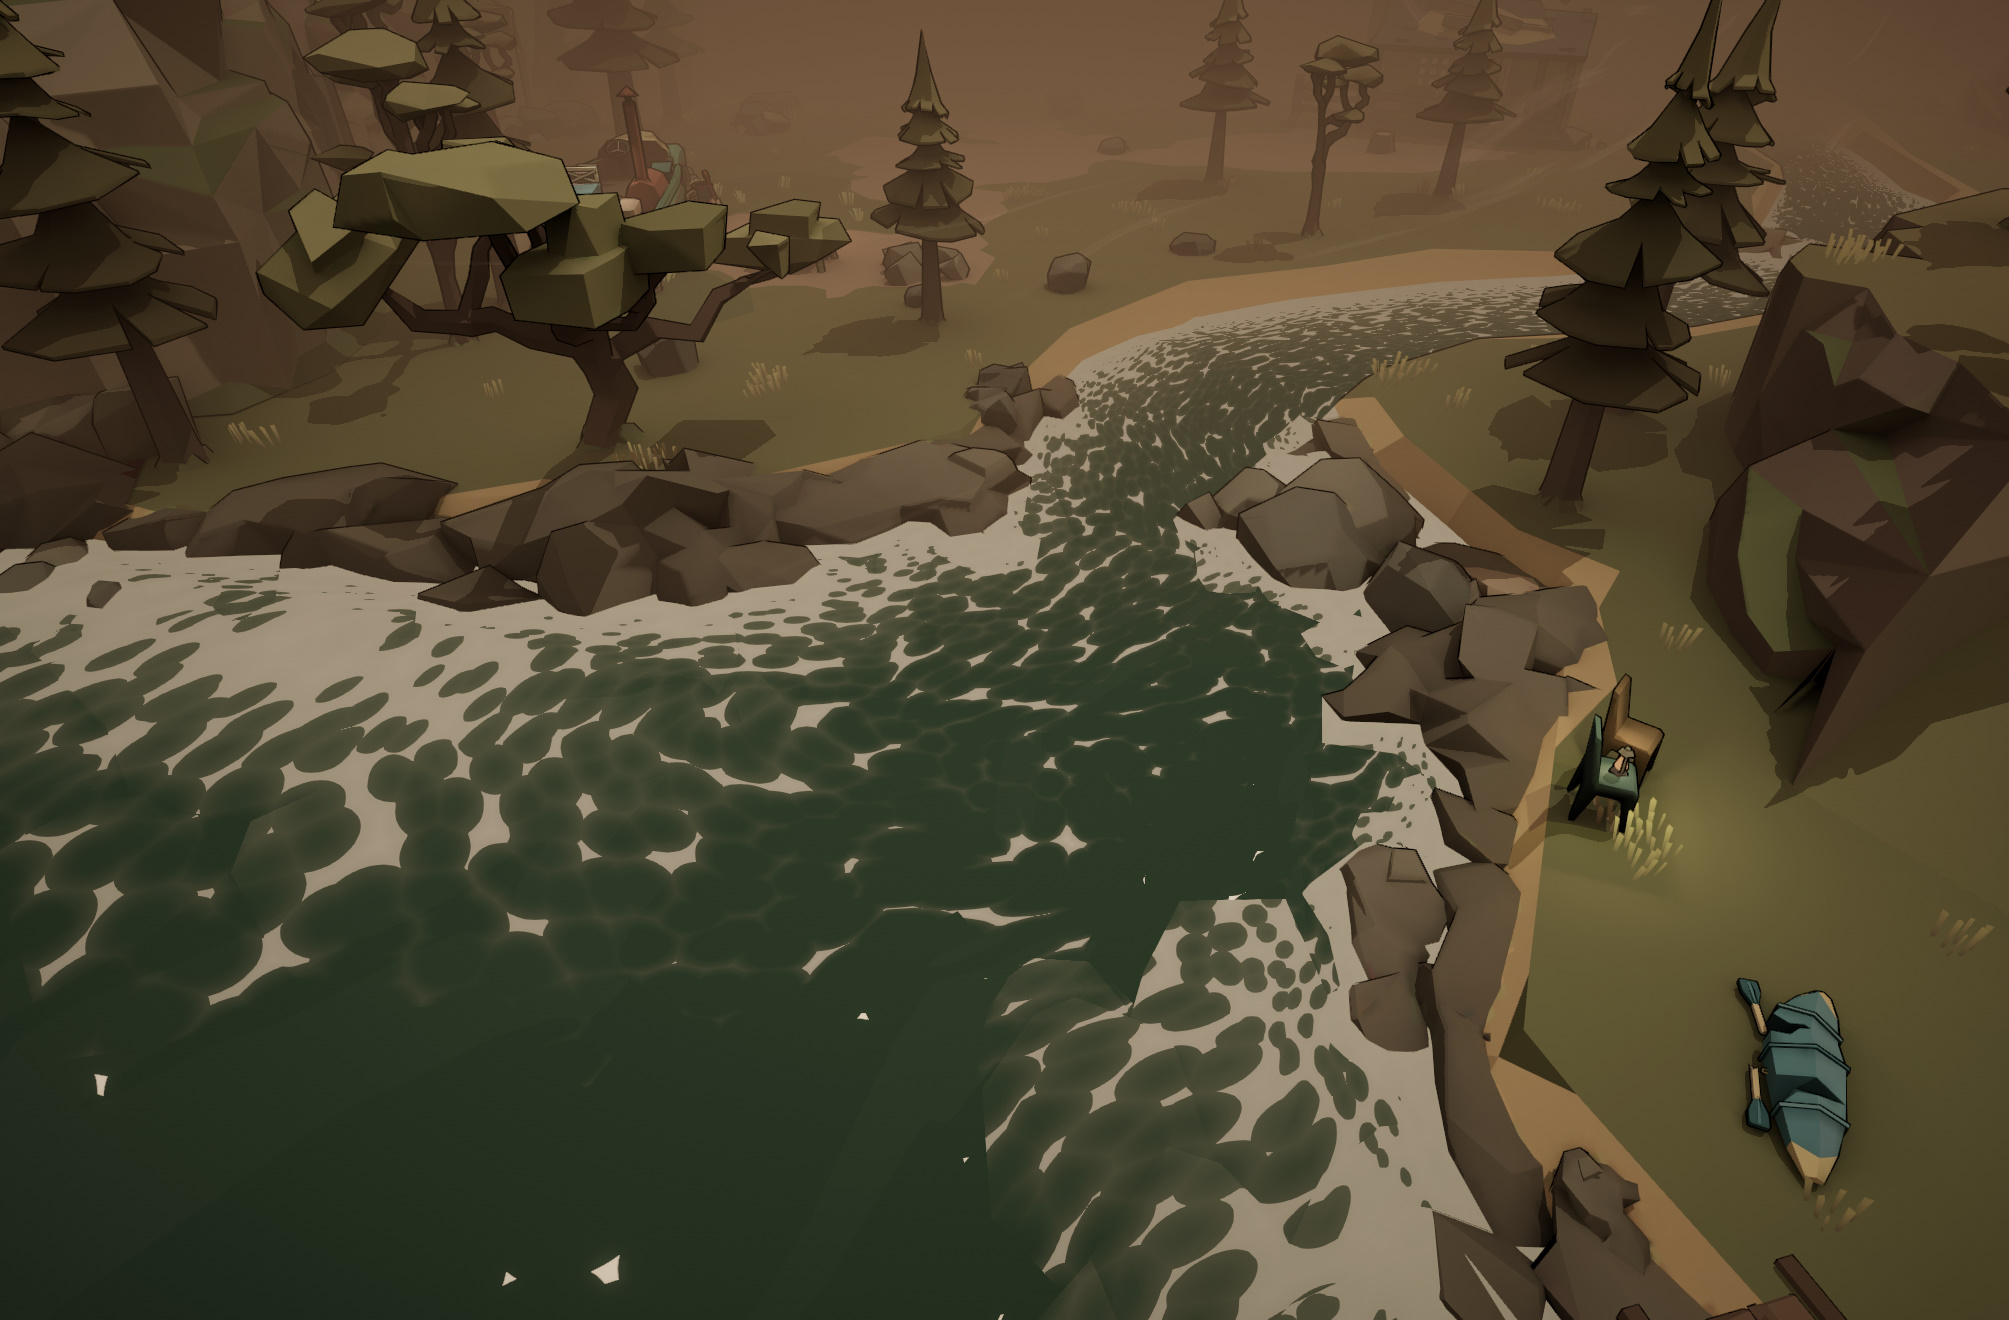
WATER
In Undying, we used scene depth to calculate the water’s foam and stored the smoothed foam to create more layers.

The flow uses model UV..
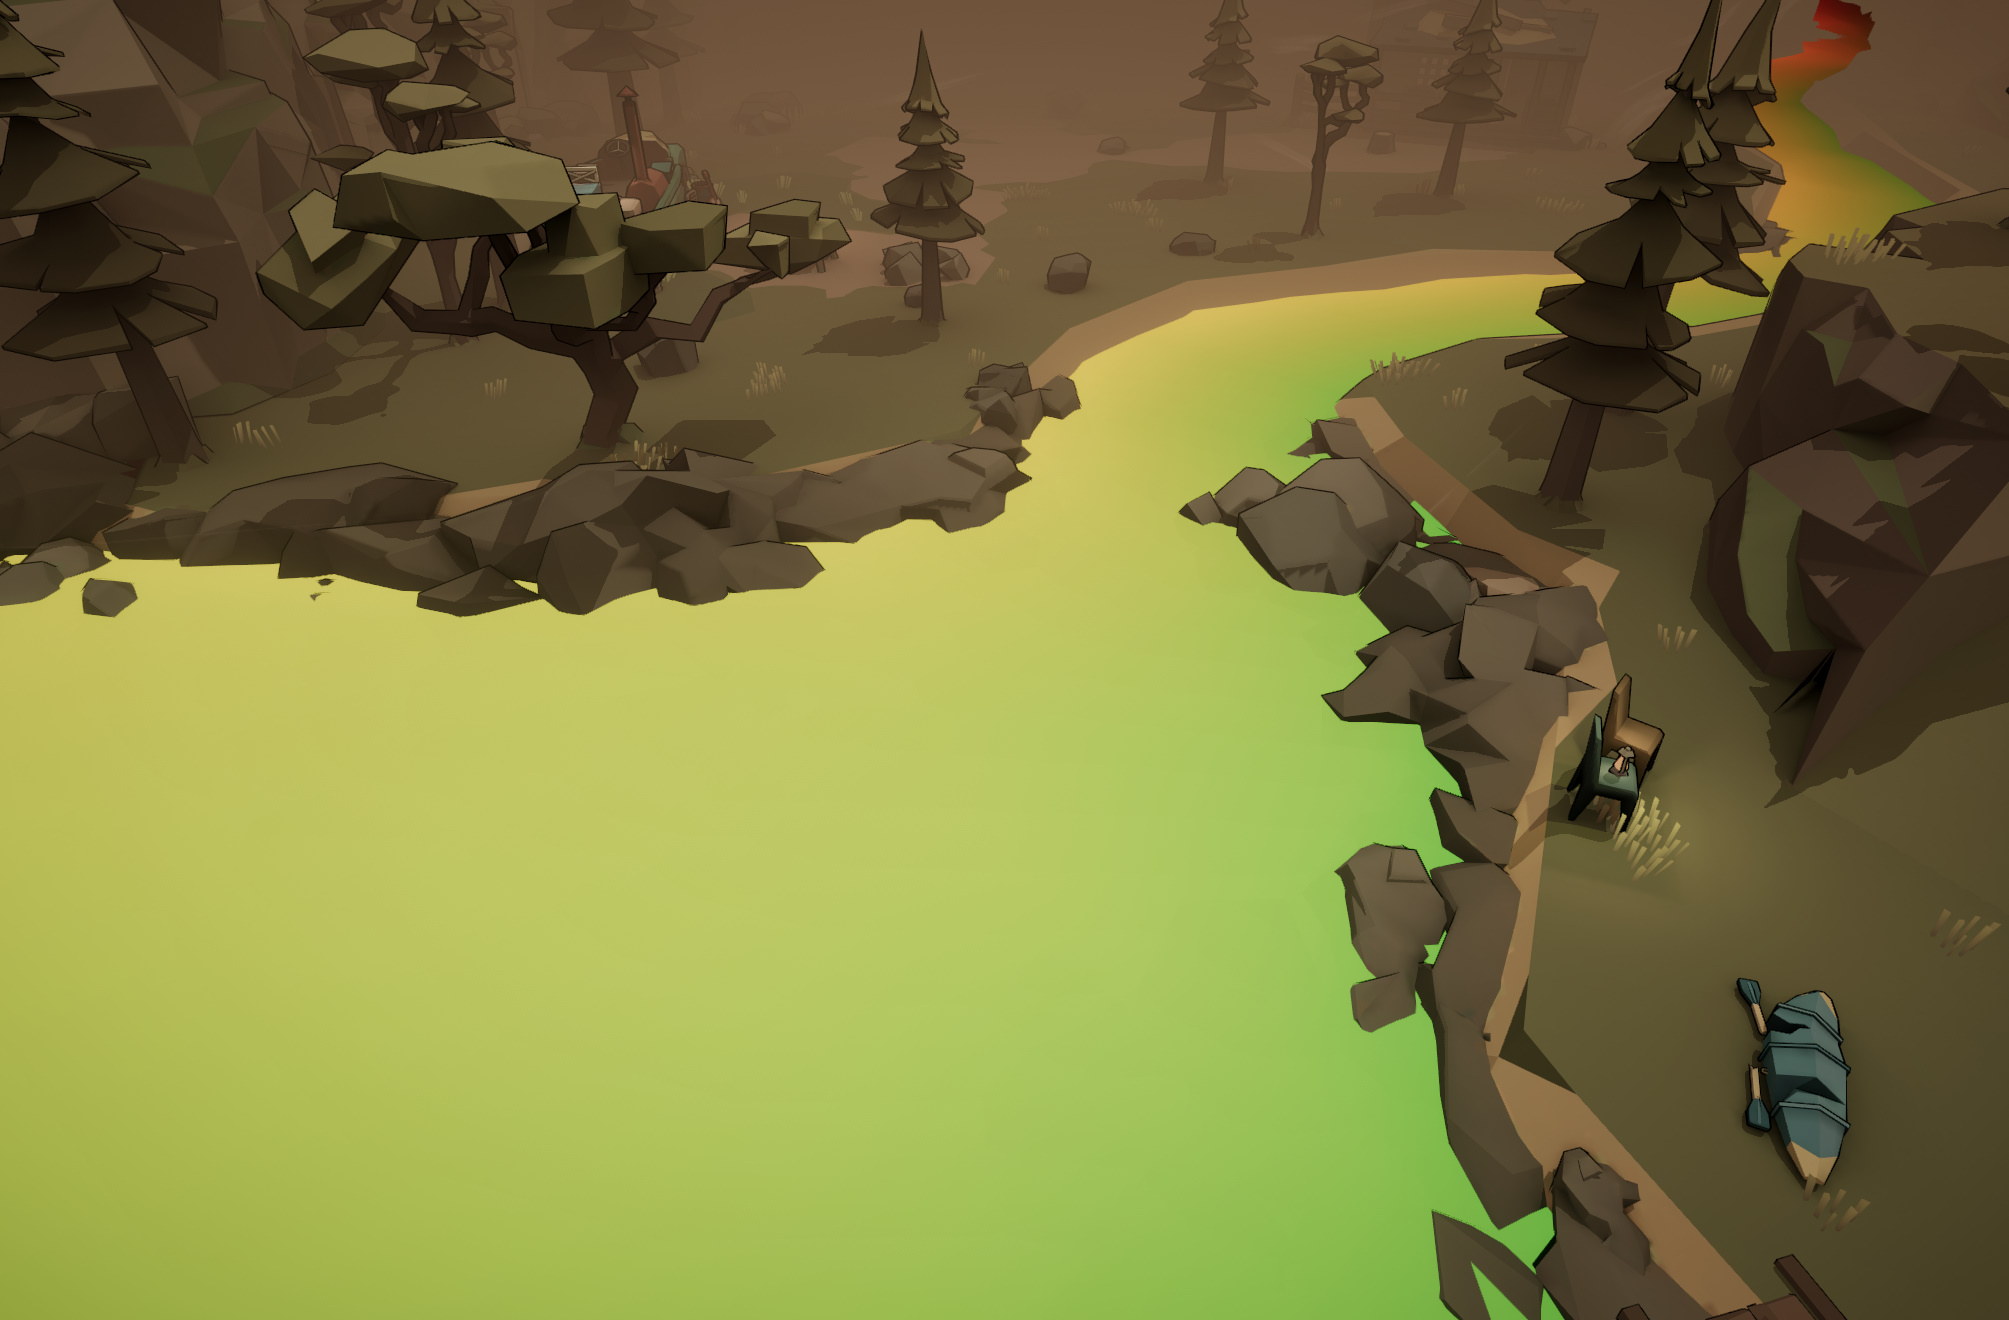
We used Voronoi noise to create foam patterns. To make it look more natural, we used two layers of noise to control the edges.
OTHERS
LOOK THROUGH
We used render objects to create look-through passes.

BLOOD
We initially used meshes to introduce blood stains, but they lacked variation. Players noticed that the blood looked too similar. So, I created a procedural blood pattern based on position. Blood stains are planes in the world, so they don’t use the Y-axis to control height. I used the Y-axis to create offsets for more variation.


SKYBOX
Undying is a top-down game, but we needed a skybox for some cut-scenes. I created a simple stylized procedural skybox. The sun’s position is static, as required by our designer.


POST-PROCESSING

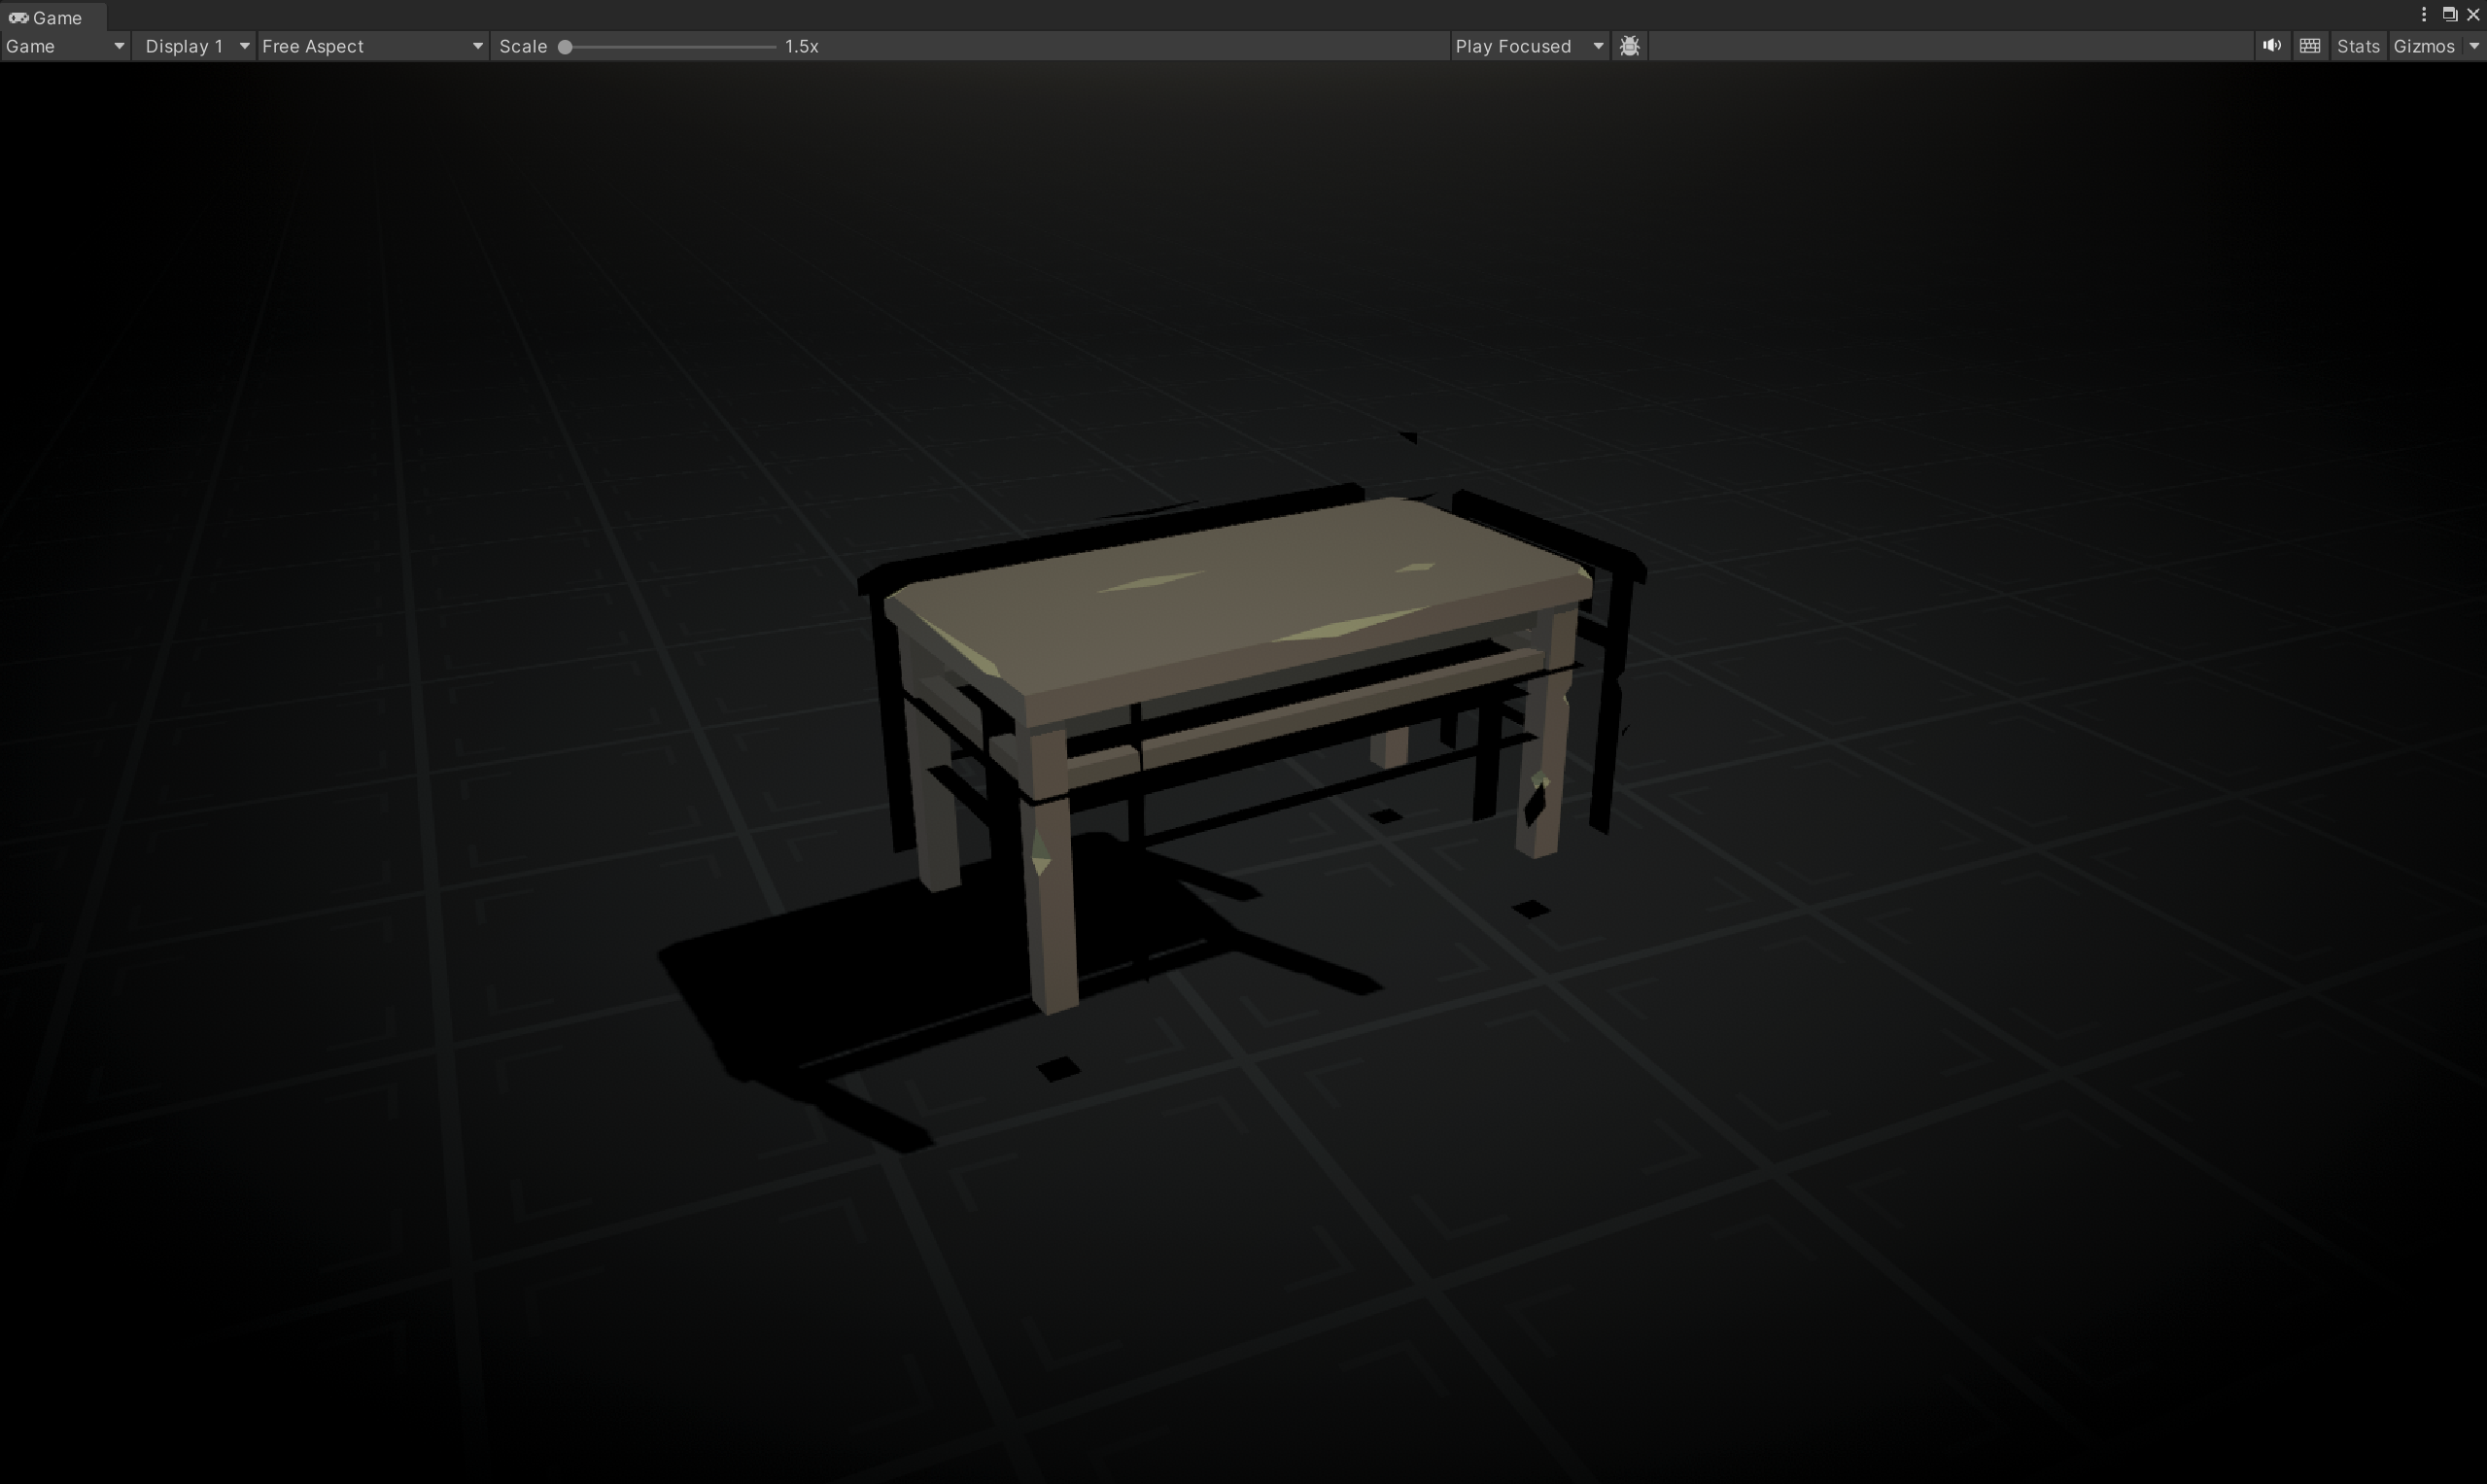
MODELING
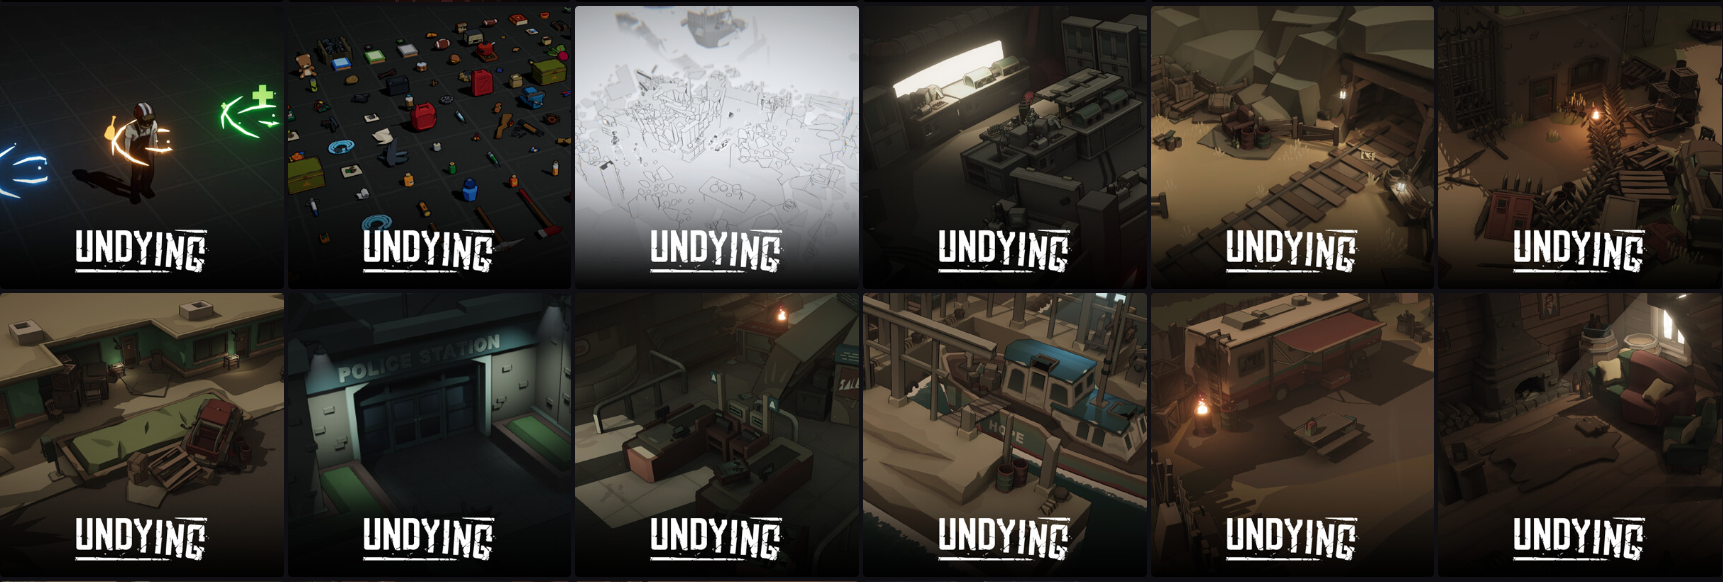
We only had two 3D artists on the team, so I had to do a lot of modeling tasks. Here are some of the models I created:


ENVIRONMENT ART
I uploaded all of my environment artwork to Artstation. You can check it out here: : https://www.artstation.com/olivergiddings/albums/13101857
VFX
I completed all the VFX work for Undying. The VFX work is also uploaded to Artstation for you to view: https://www.artstation.com/artwork/QXde43

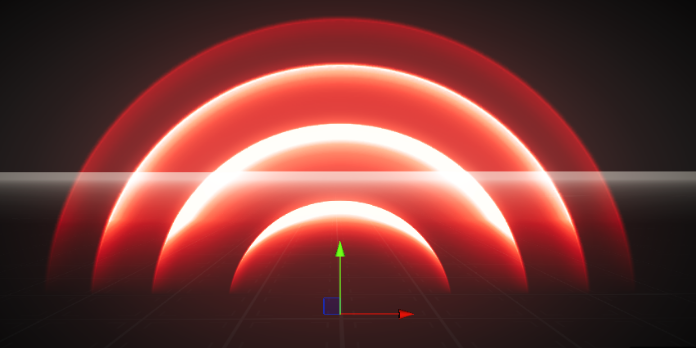
Volumetric light
The volumetric light we use in Undying is actually a rigged square. This approach allows us to achieve clean volumetric lighting at a low performance cost.
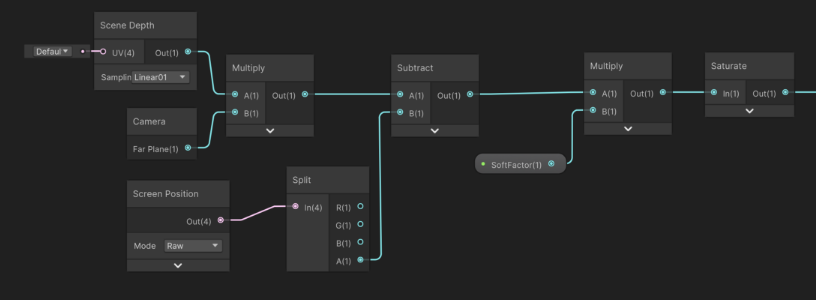
Soft Edge
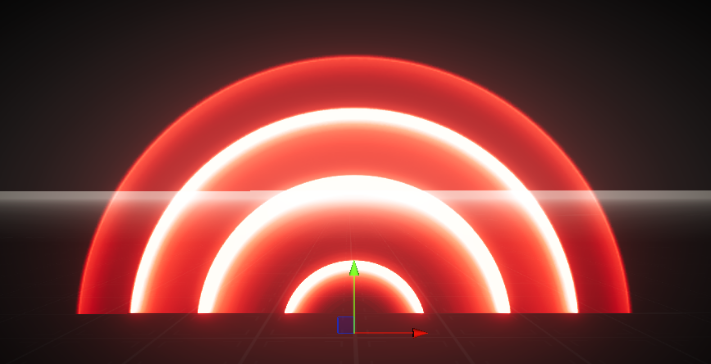
The particle shader in Undying is quite simple. We use camera depth in the shader graph to create soft edges for particles.
TOOLS & PIPELINE
TOD Tool
Undying contains hundreds of scenes. Manually setting up everything for each scene would be extremely time-consuming. To streamline this process, I developed a tool to initialize basic lighting objects and environment settings. This allows anyone on the team to easily make adjustments and simplifies debugging for artists.

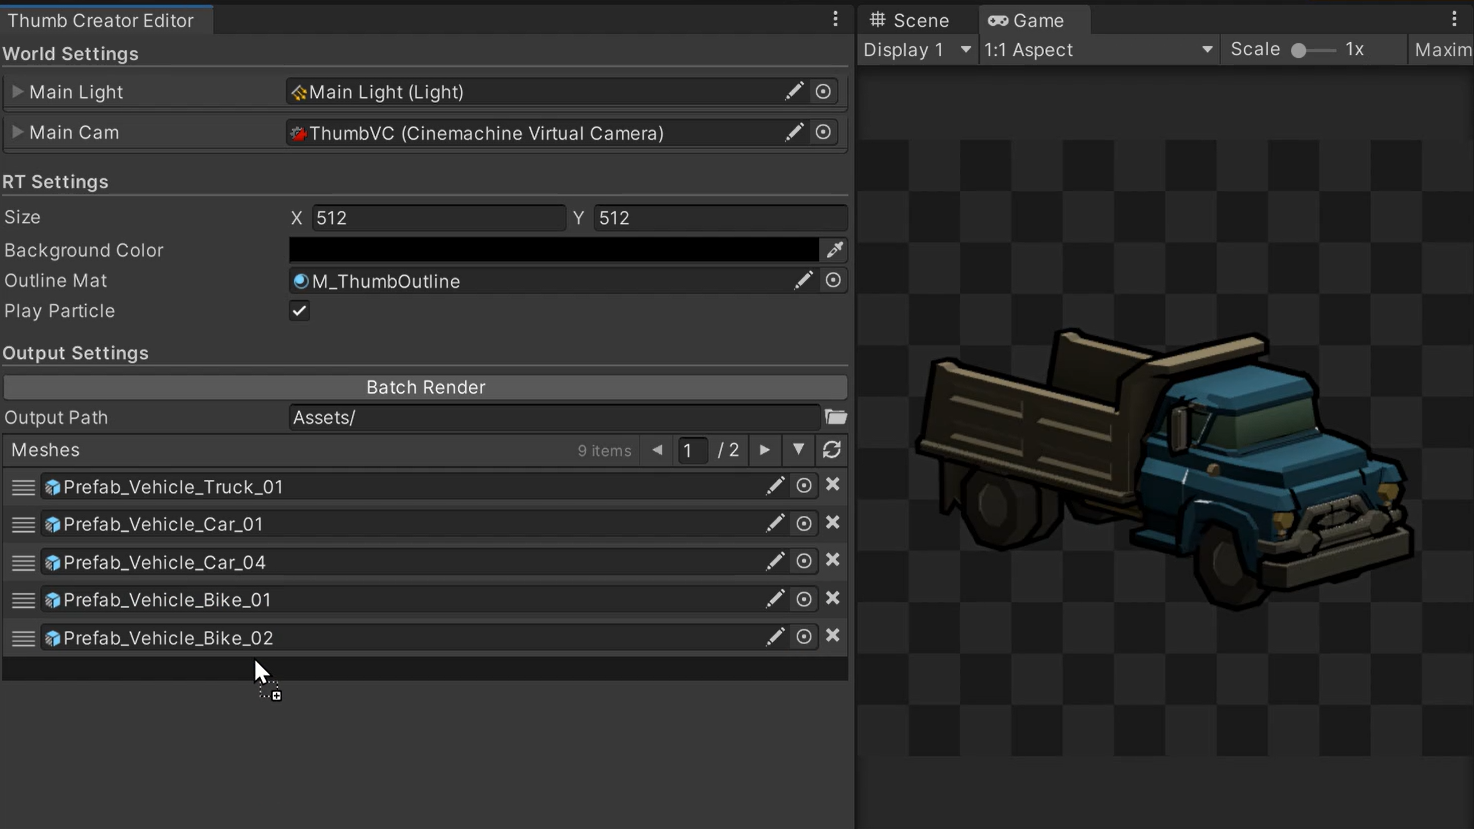
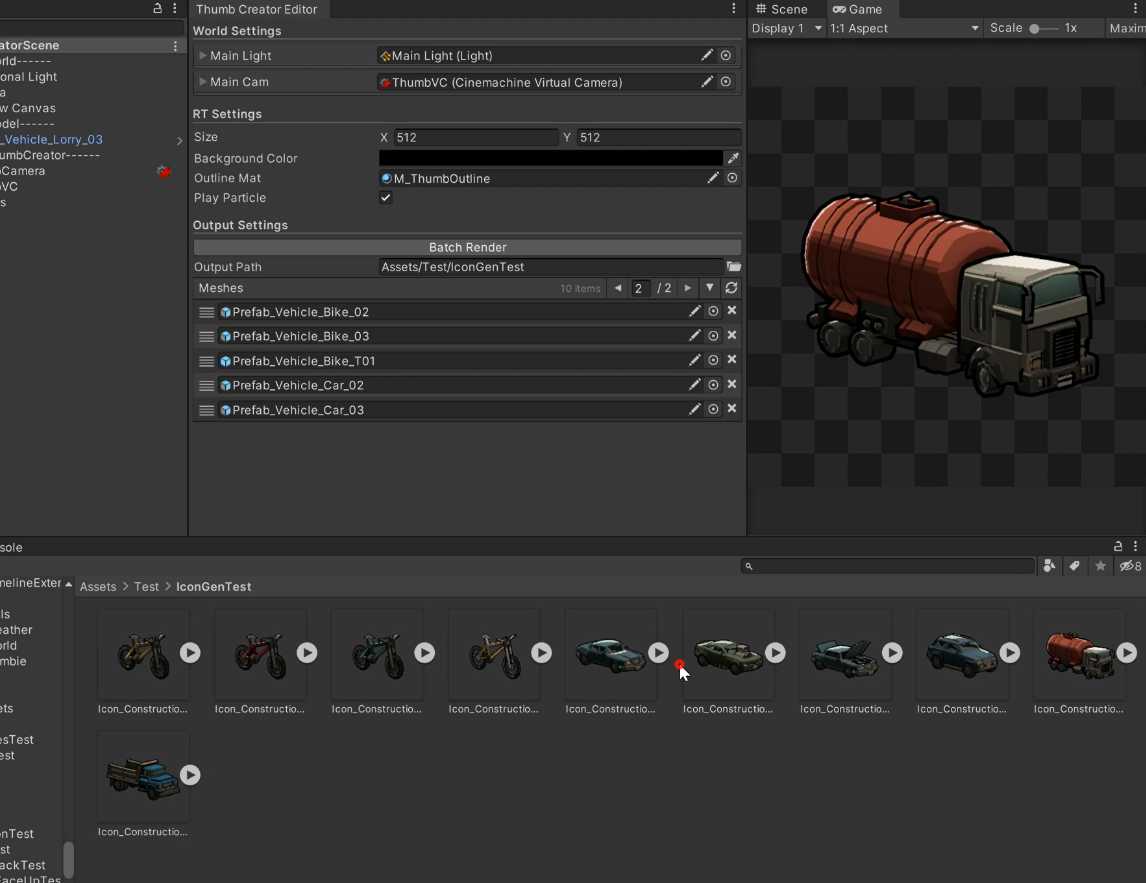
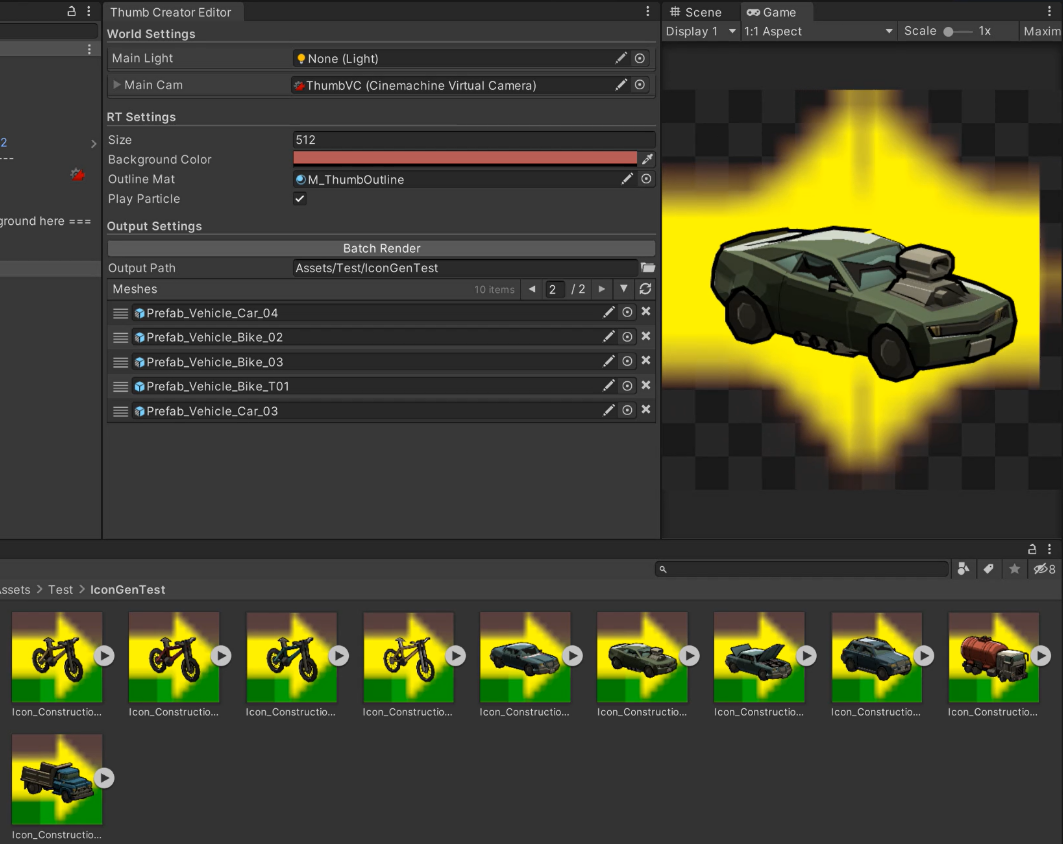
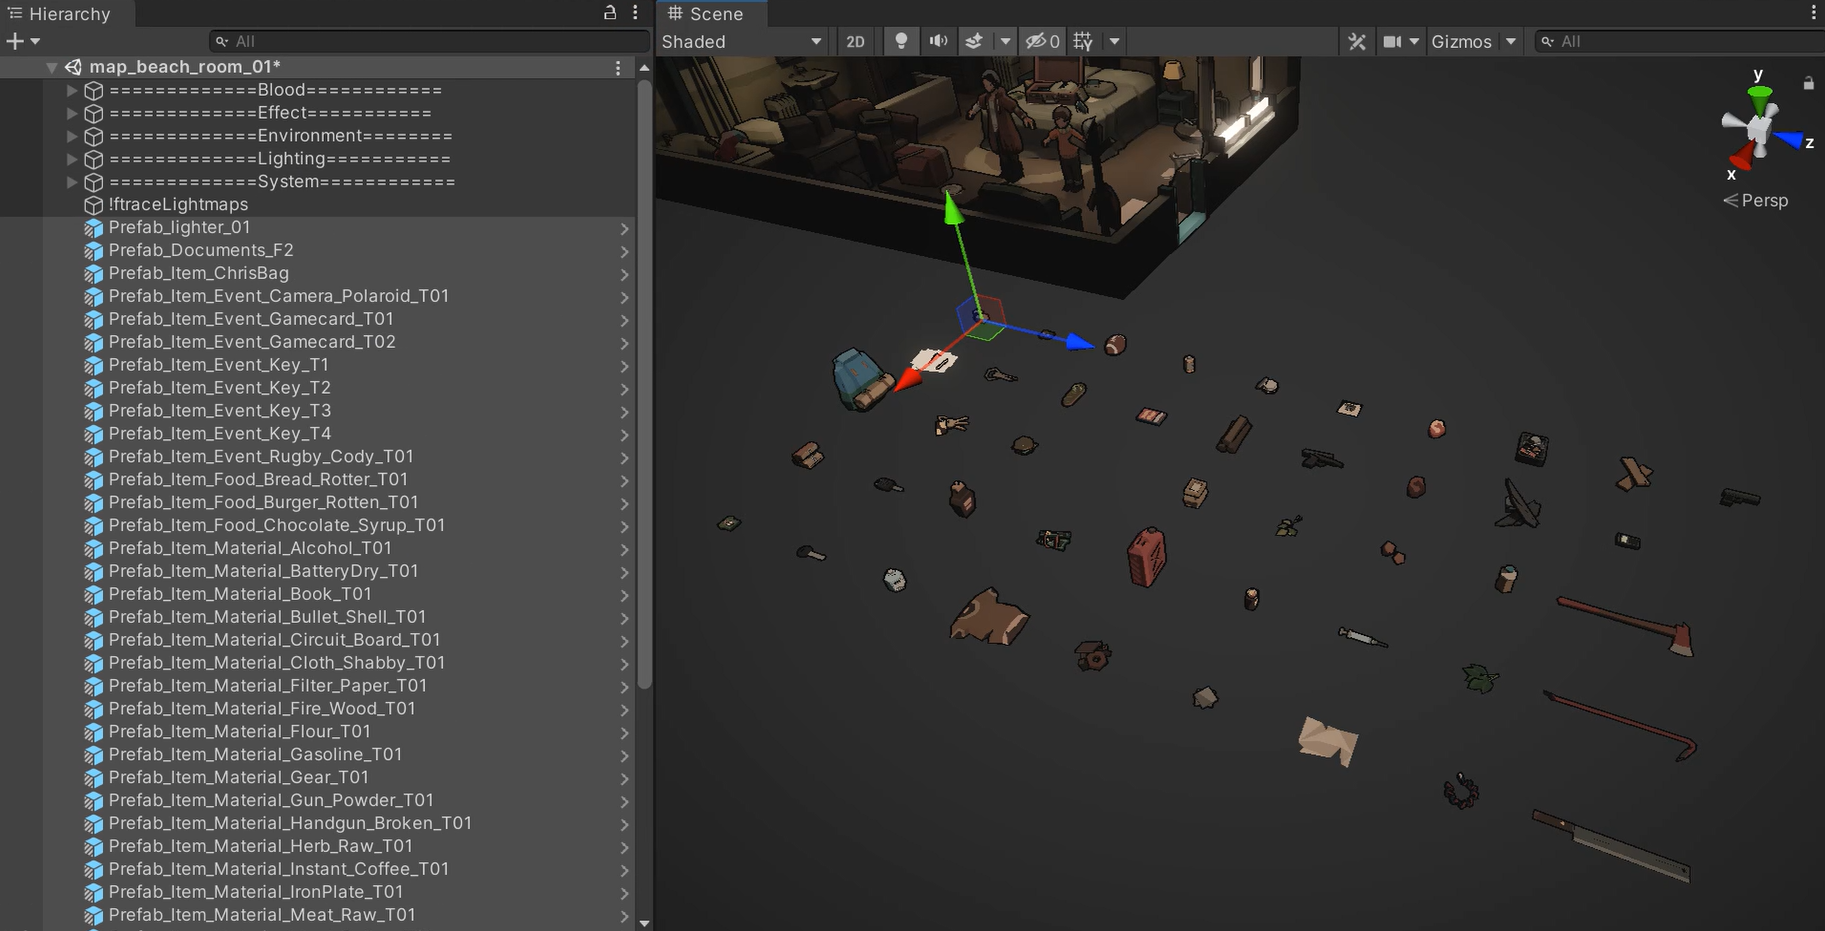
Thumbnail Generator
While most of our icons are created by our 2D artists, our designers later decided that players should be able to bring “anything” they like into their homes. This required icons for each prop. To facilitate this, I created a thumbnail generator tool for batch rendering icons. We simply drag existing prefabs into the tool, click “batch render,” and we get these nice little icons. The tool also supports background sprites, allowing us to place sprites on the canvas and render them with the icons.
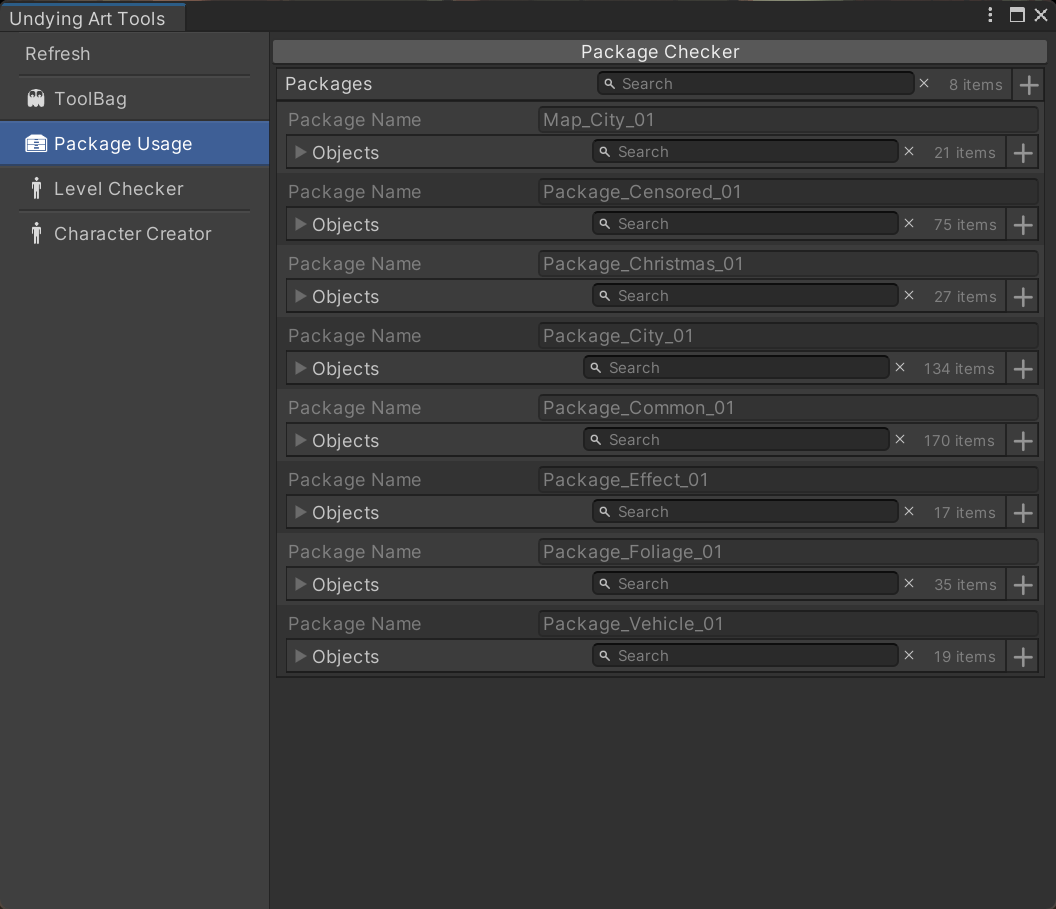
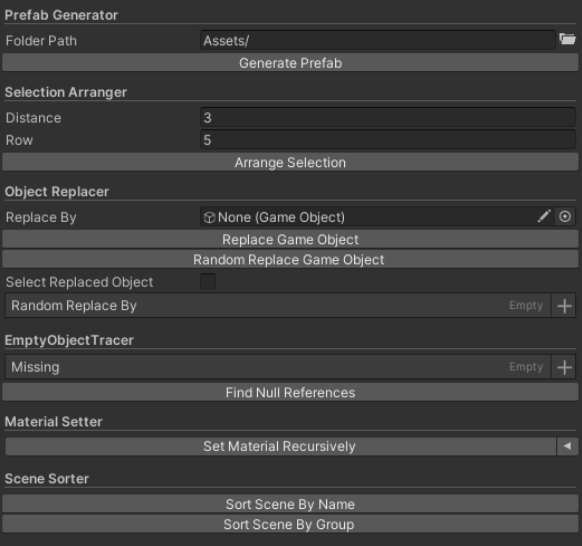
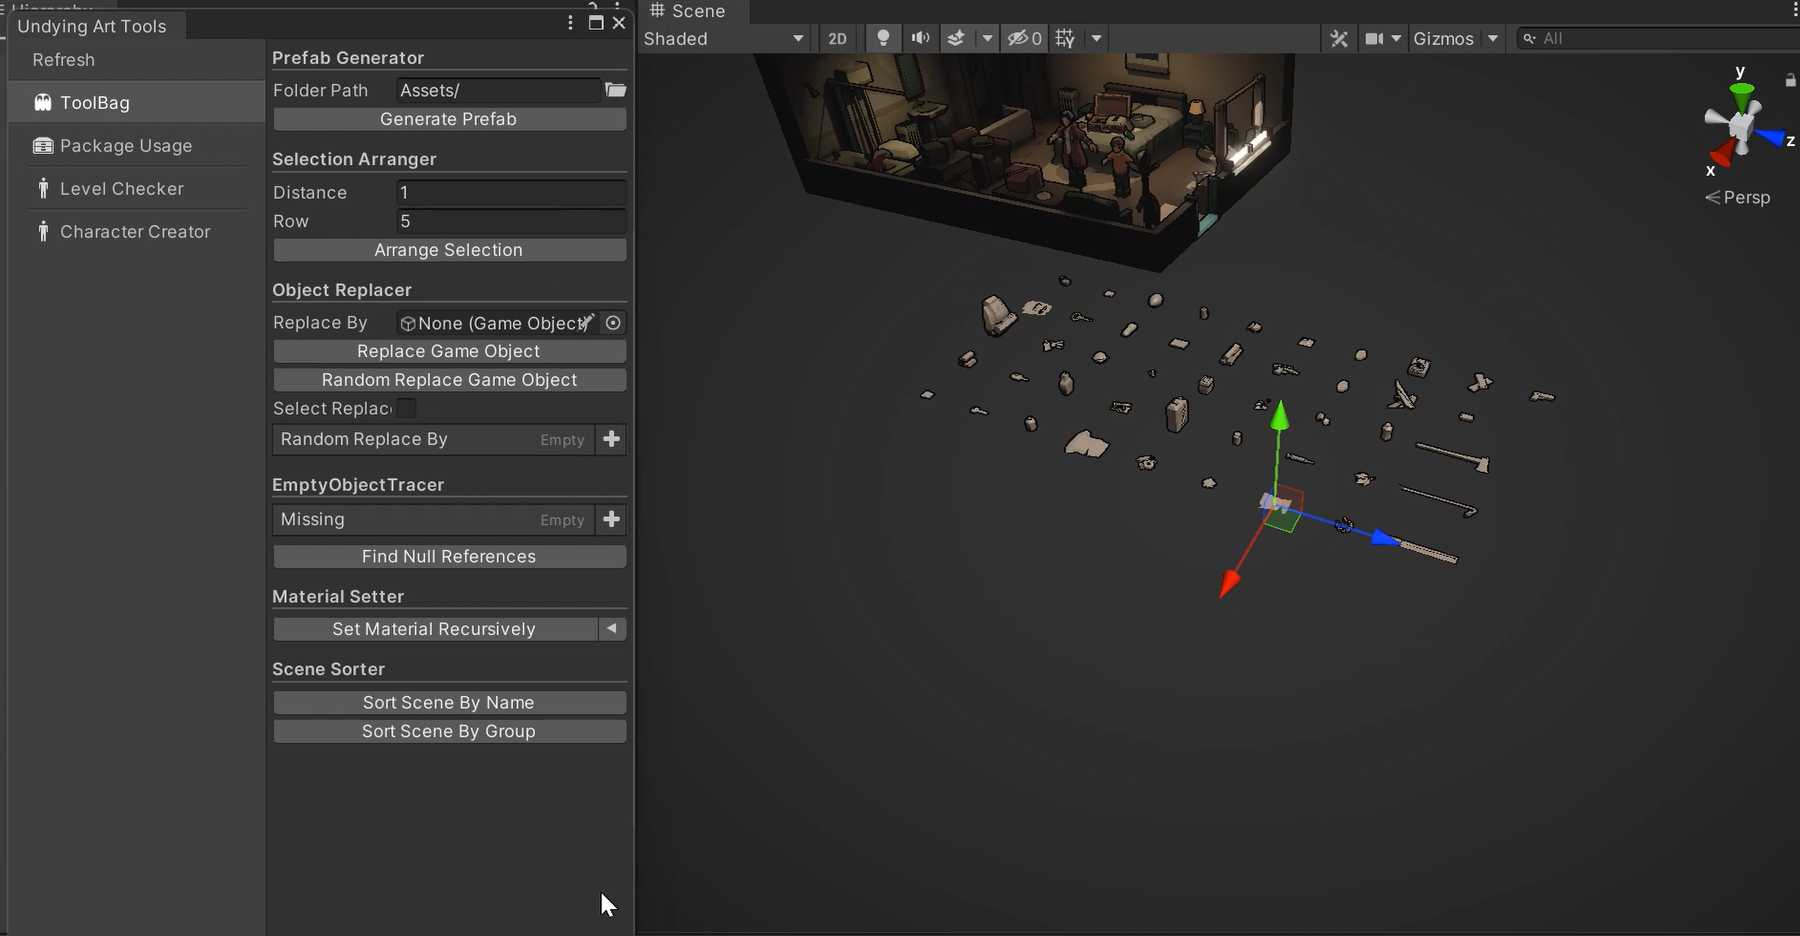
Other tools
My goal was to transform commonly used controls into tools to streamline our workflow.
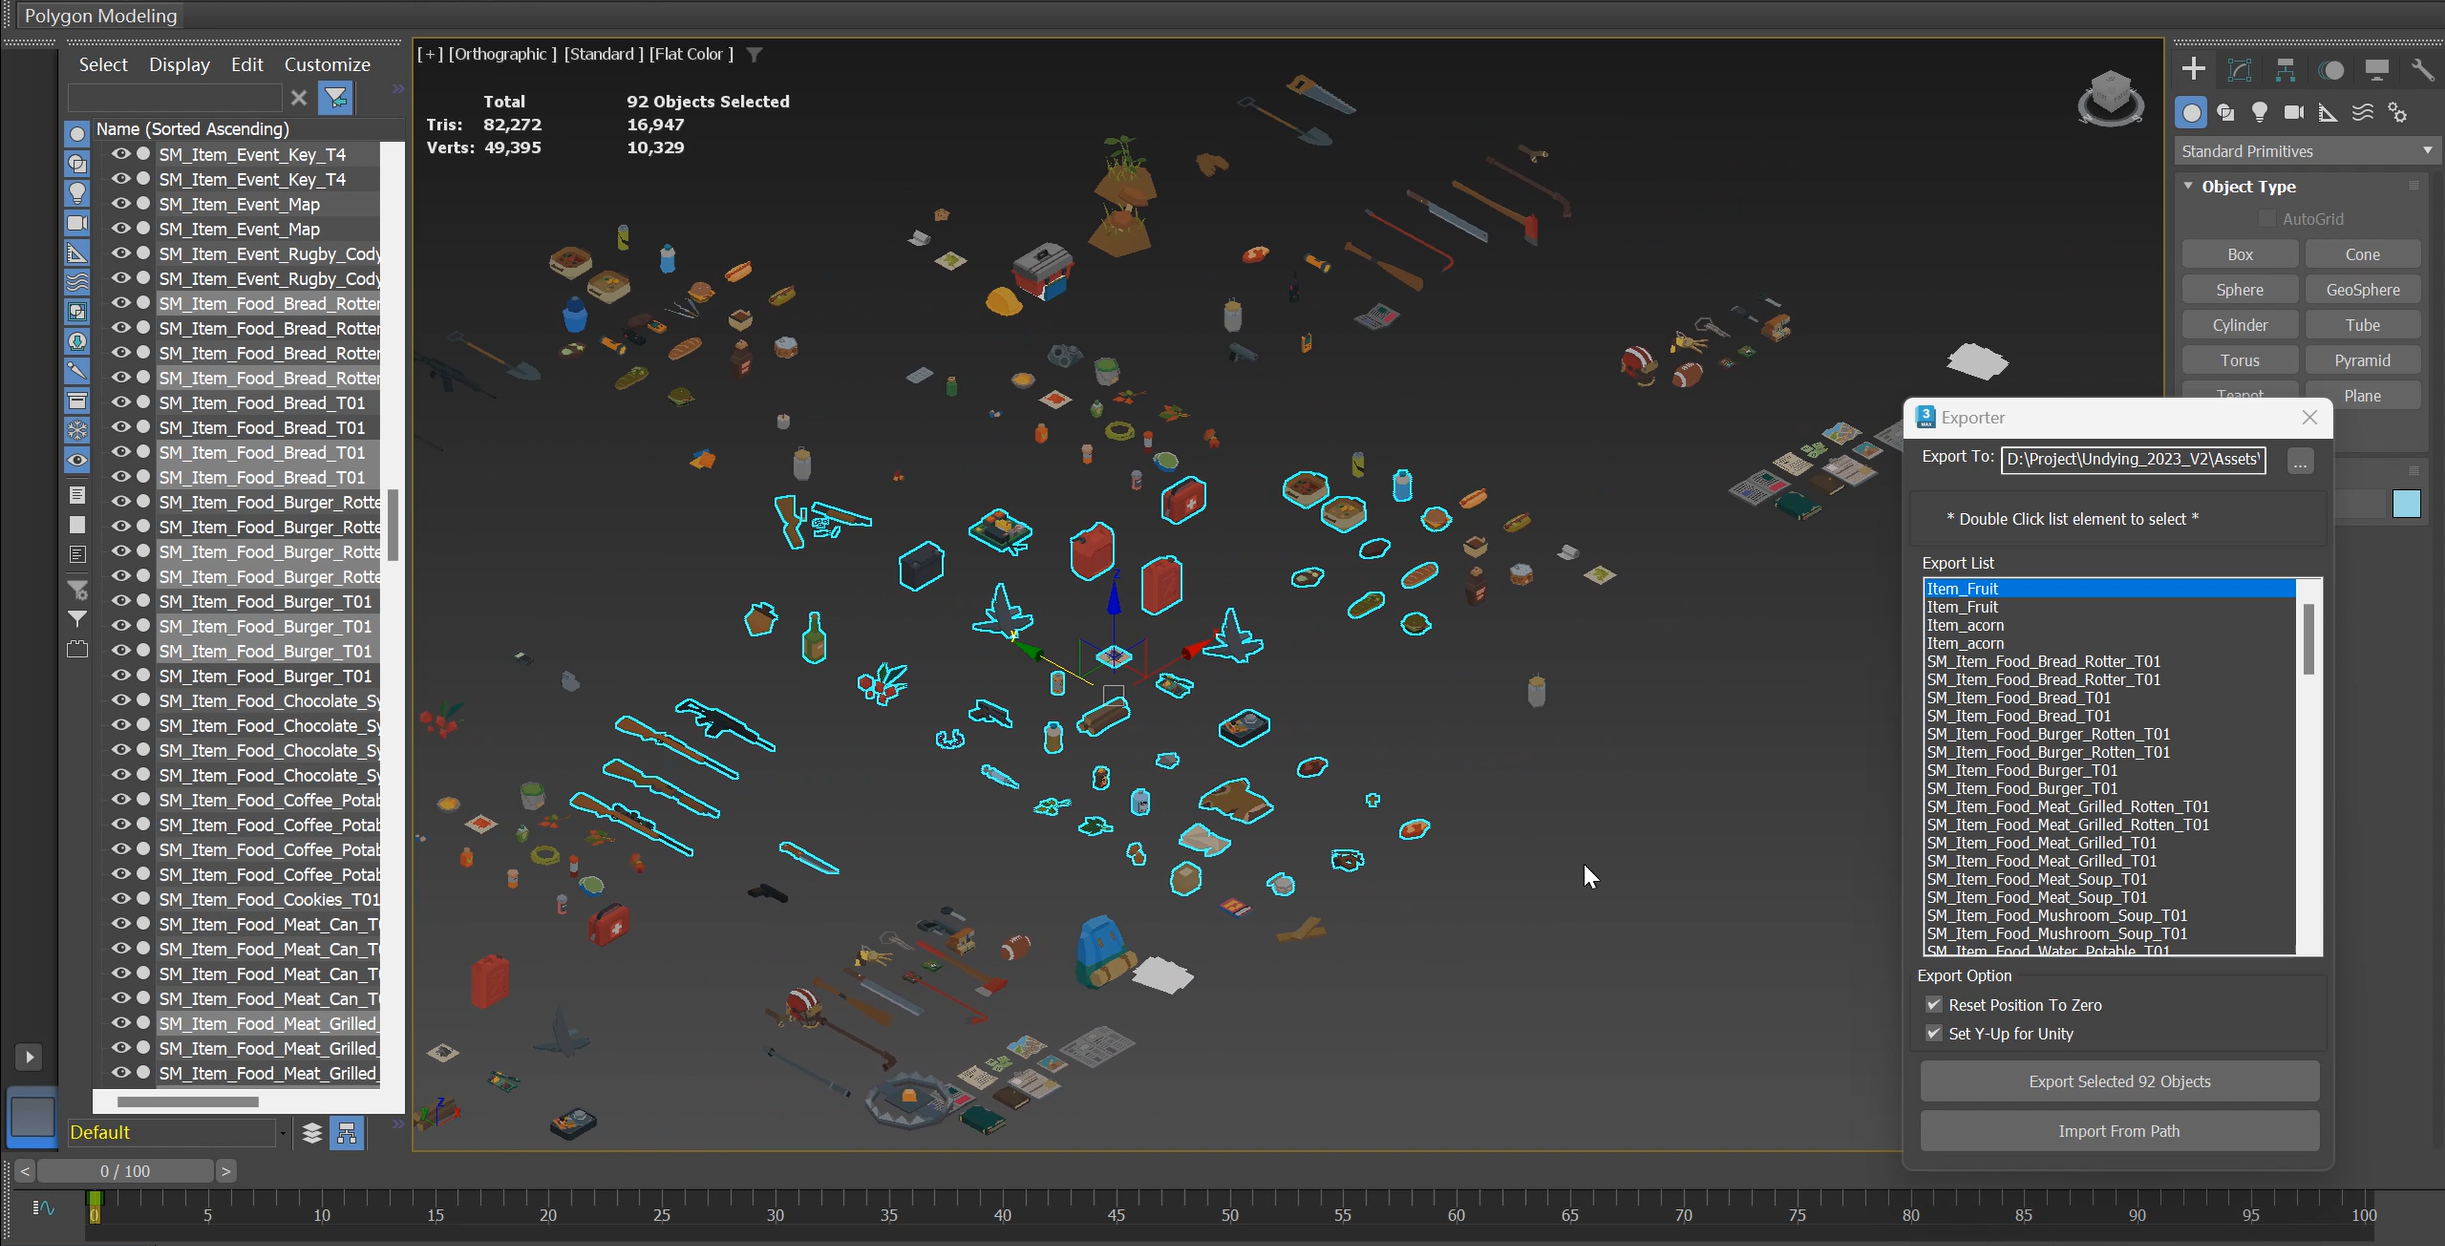
Import pipeline
To ensure outlines work correctly, we need to use script-generated normal information. As it’s impractical to set up every model manually, I incorporated everything into the asset preprocessor to streamline this pipeline. I also created an export tool for 3ds Max.
Thank you for reading :)